Localizing a Swift Package with a String Catalog
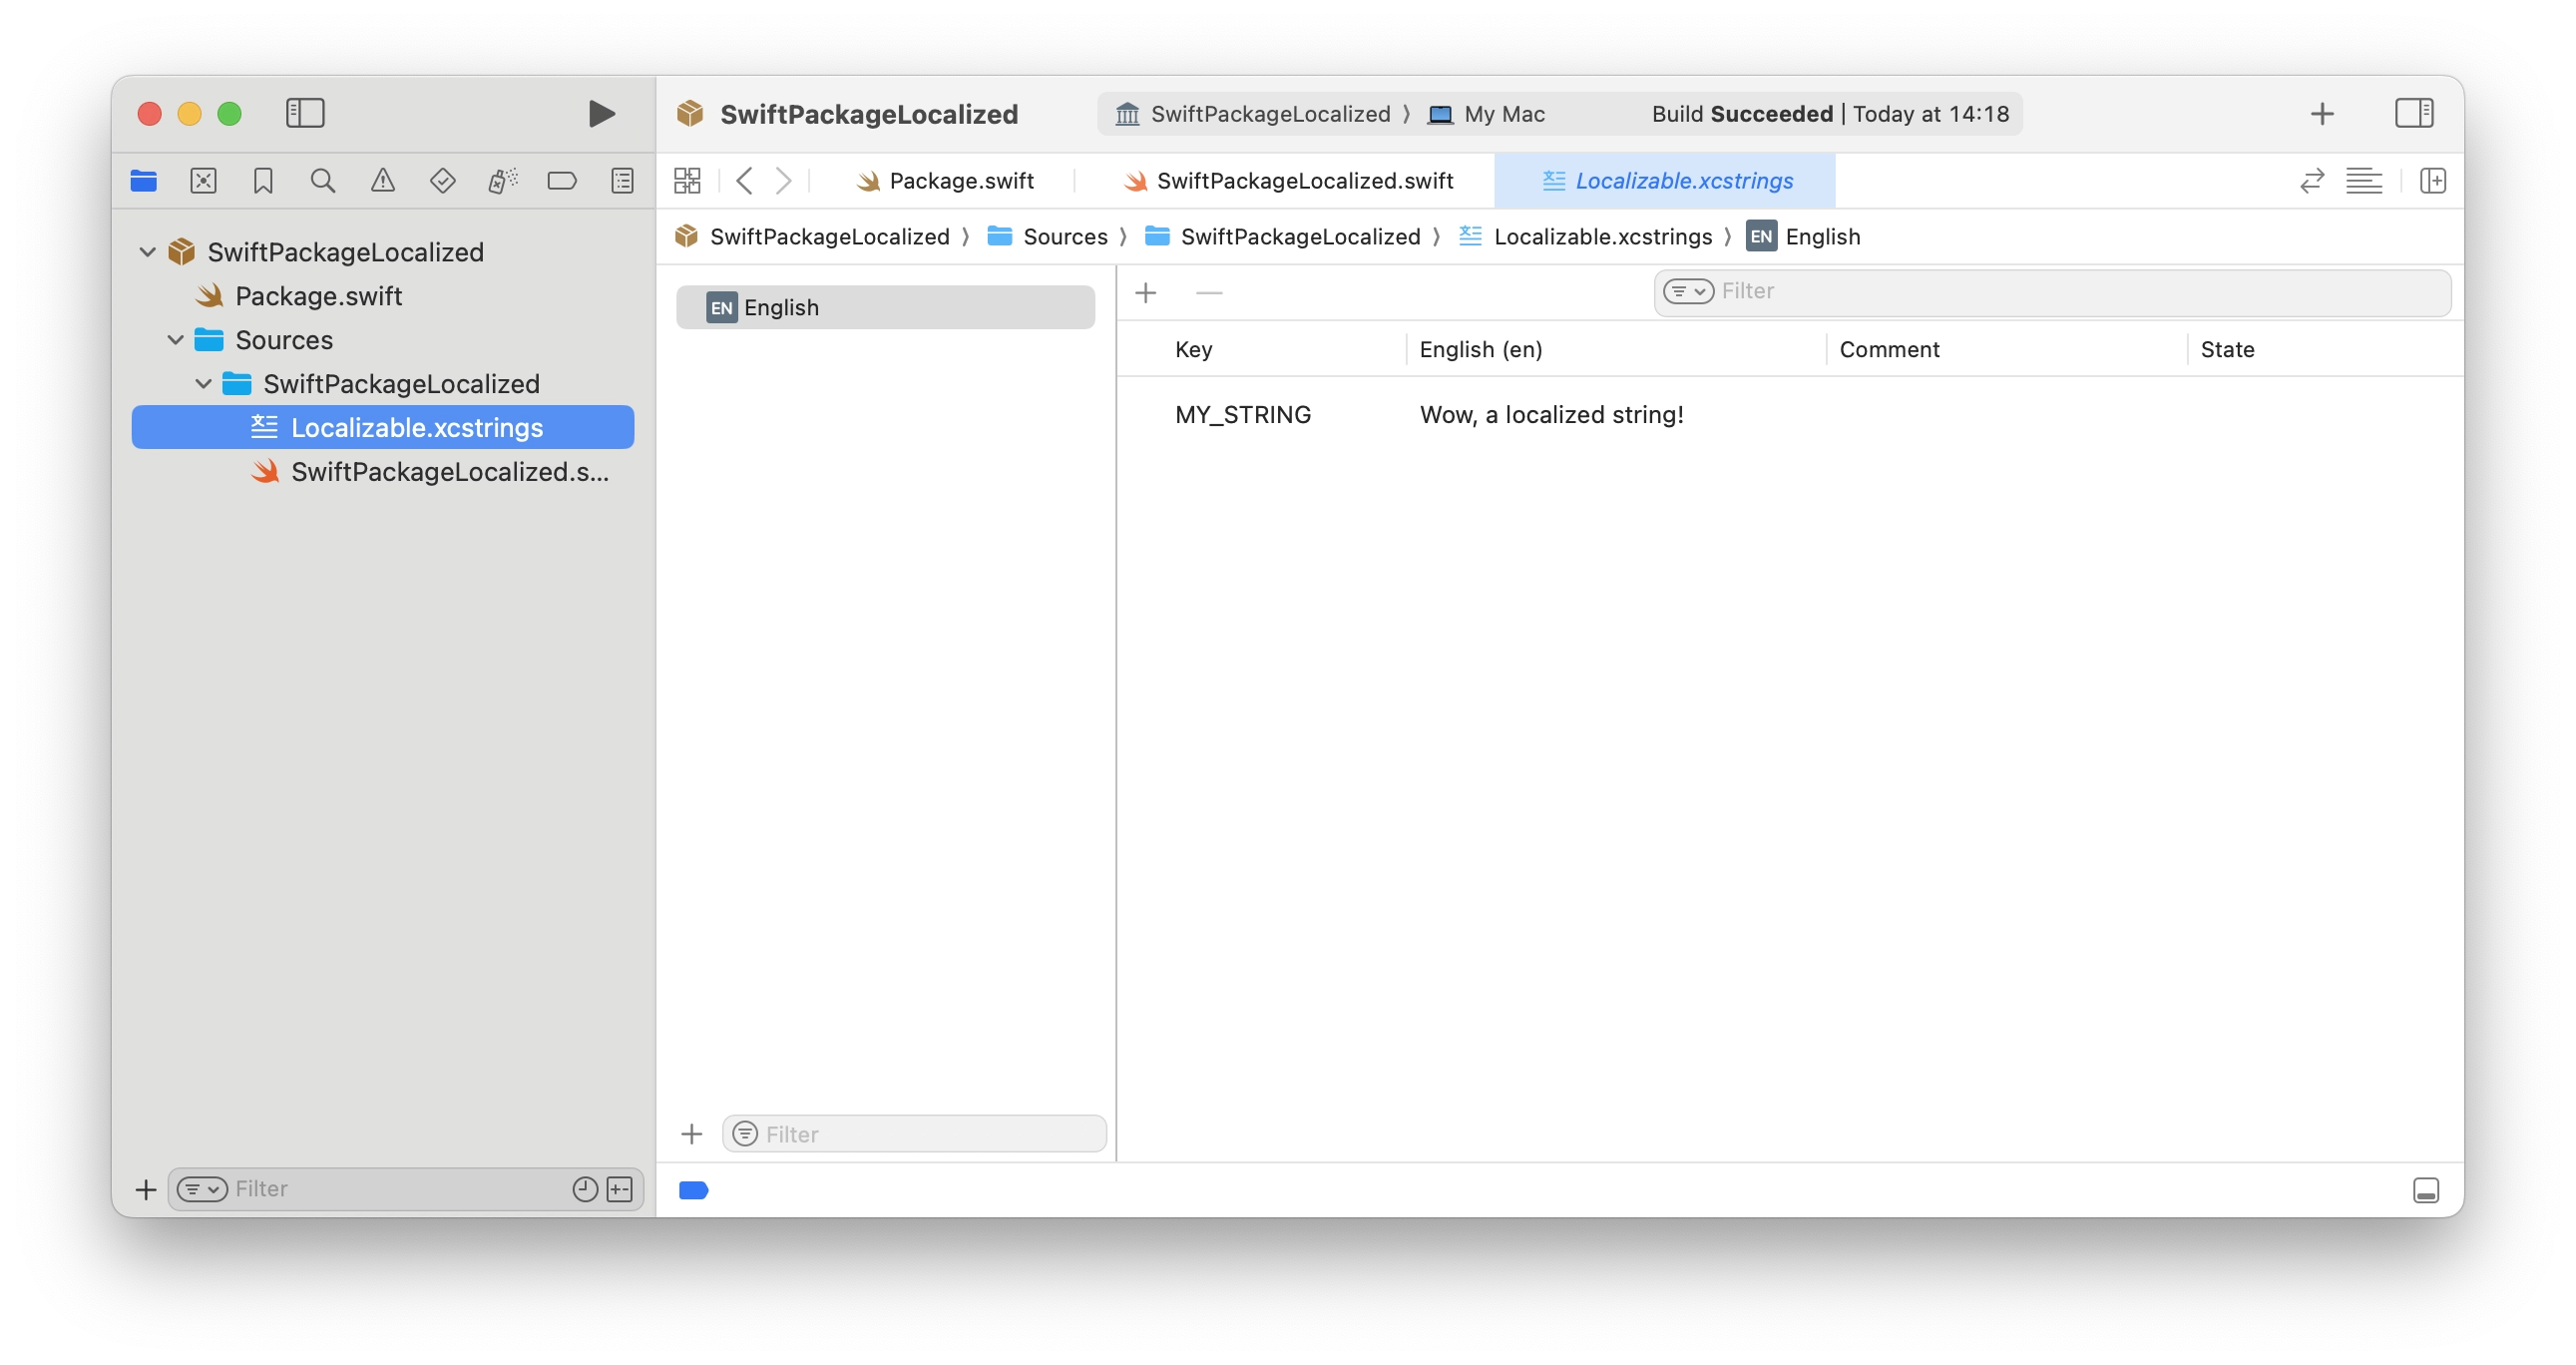
Recently, I've been working on a Swift Package with some strings that I wanted to localize. Apple's documentation on this topic seems to be a bit outdated. The documentation still suggests using language-specific directories for localizing resources and strings.
But, at WWDC 2023, Apple introduced String Catalogs. It's much more handy - just a JSON file that Xcode can fill with all the strings that need to be localized. Most of the examples you can find are about apps, not packages. So, I've spent some time trying to figure out how to use String Catalogs in a Swift package.
Funny thing in macOS Sequoia with iPhone Mirroring
One of the new features in macOS Sequoia is iPhone Mirroring. You can connect to your iPhone, see its screen and control it.
My Mac is using 2 folders to store apps: one is in the user folder ~/Applications, the second is the system applications folder at /Applications.
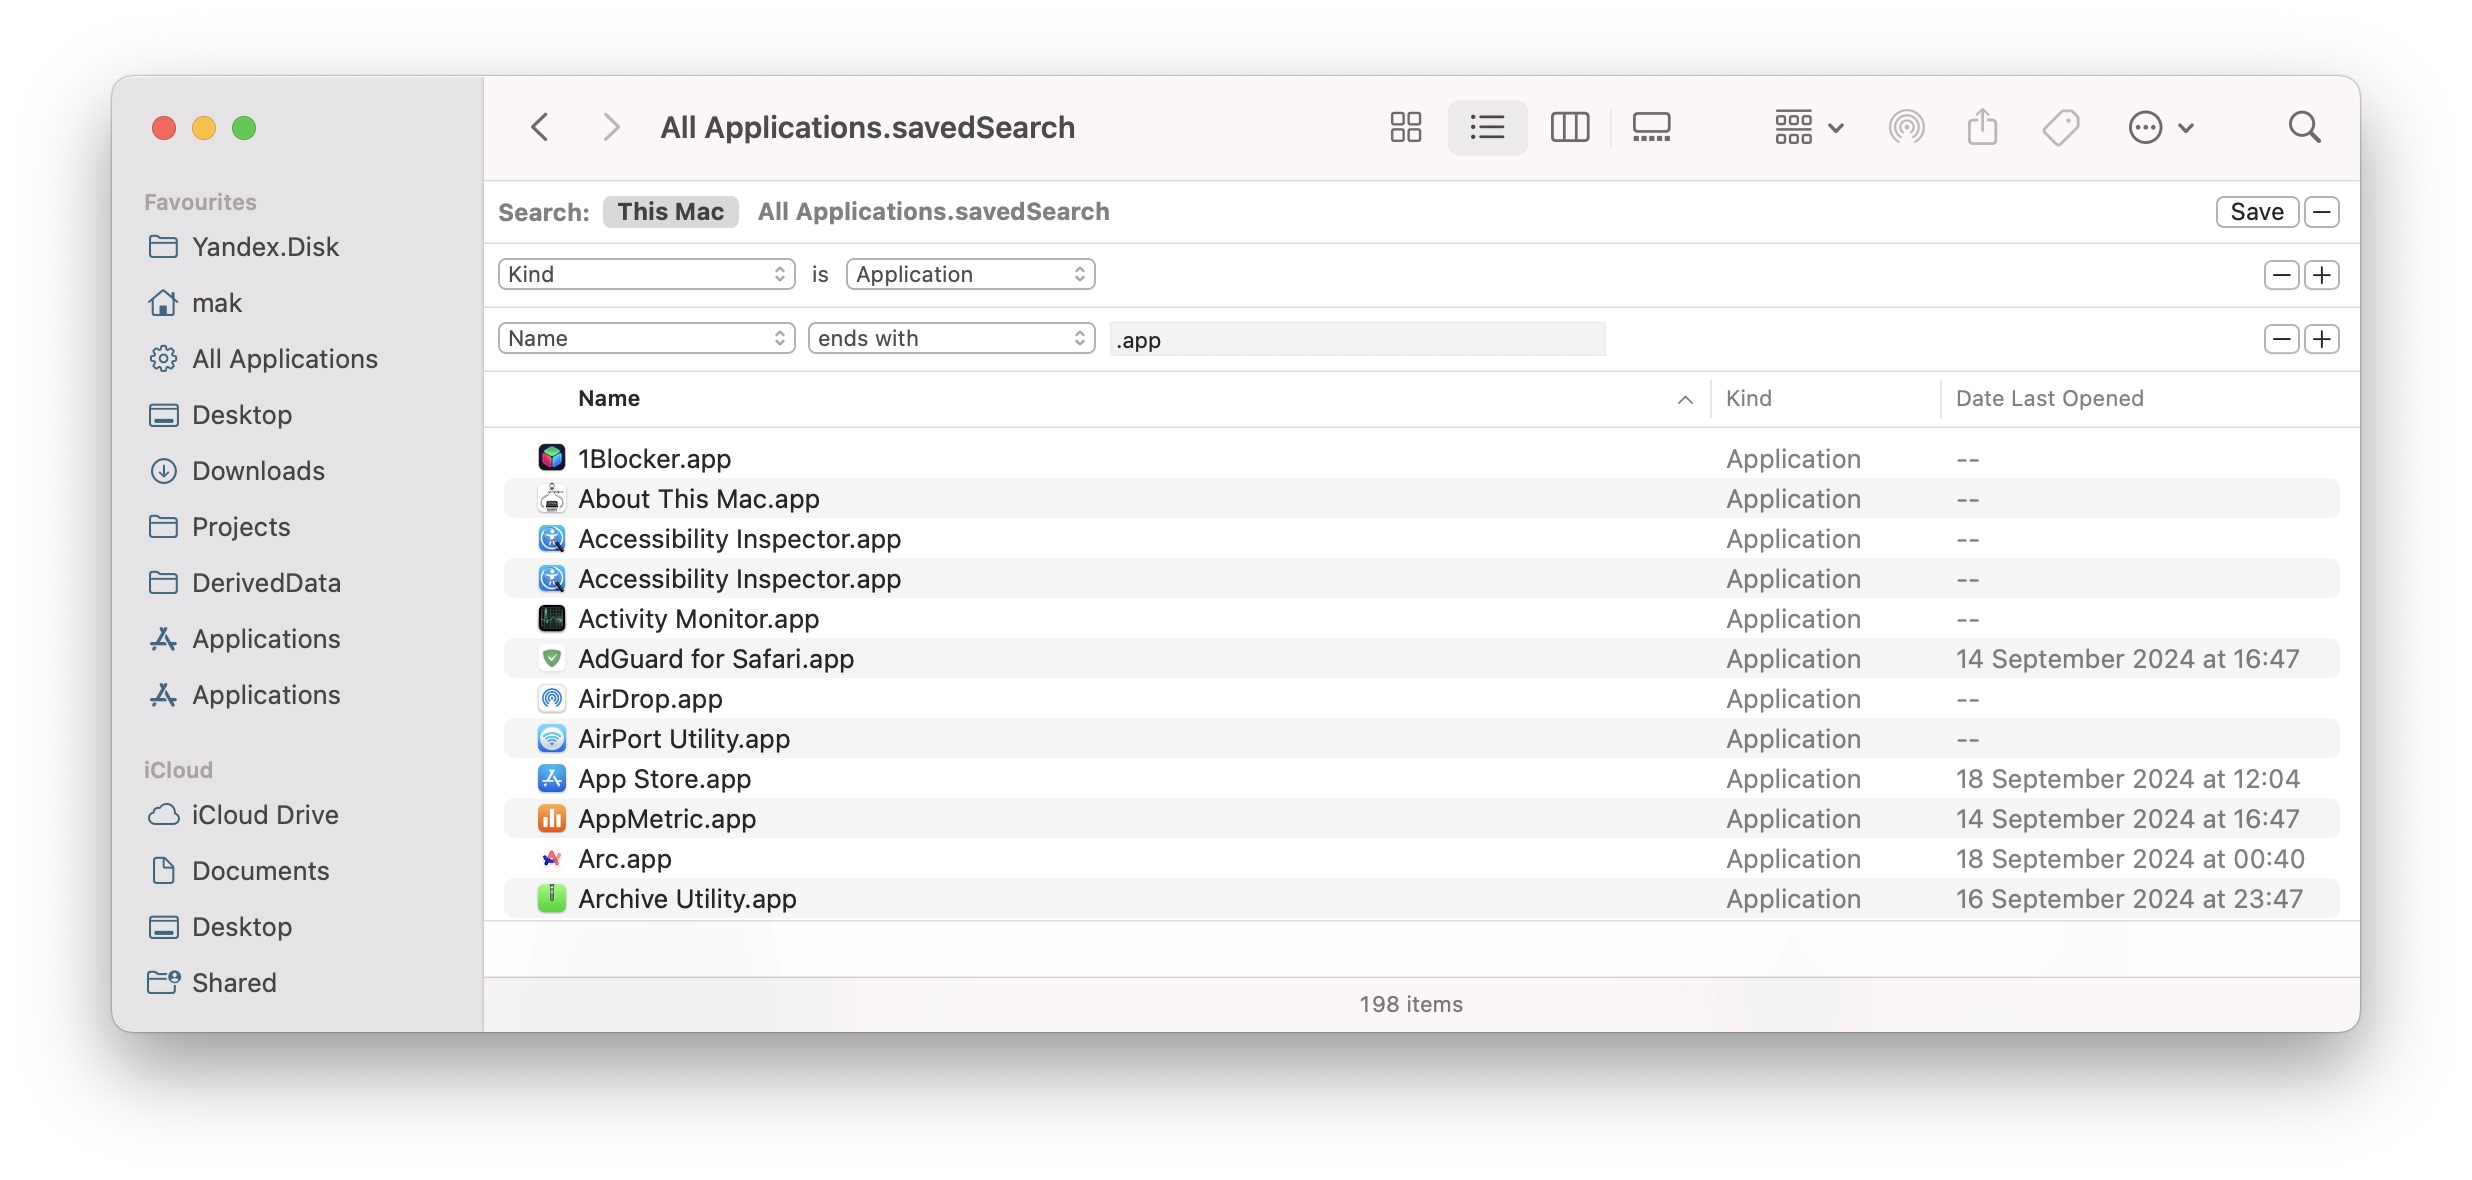
One day I created a search filter in Finder and saved it to have all the available apps in one place, also did put it to the sidebar in the Favourites section.
But also I love to have a shortcut in the Dock. So I've added a grid here too. It worked as I expected until I updated to macOS Sequoia and tried the iPhone Mirroring app once. Now the grid shows some apps from my iPhone too:
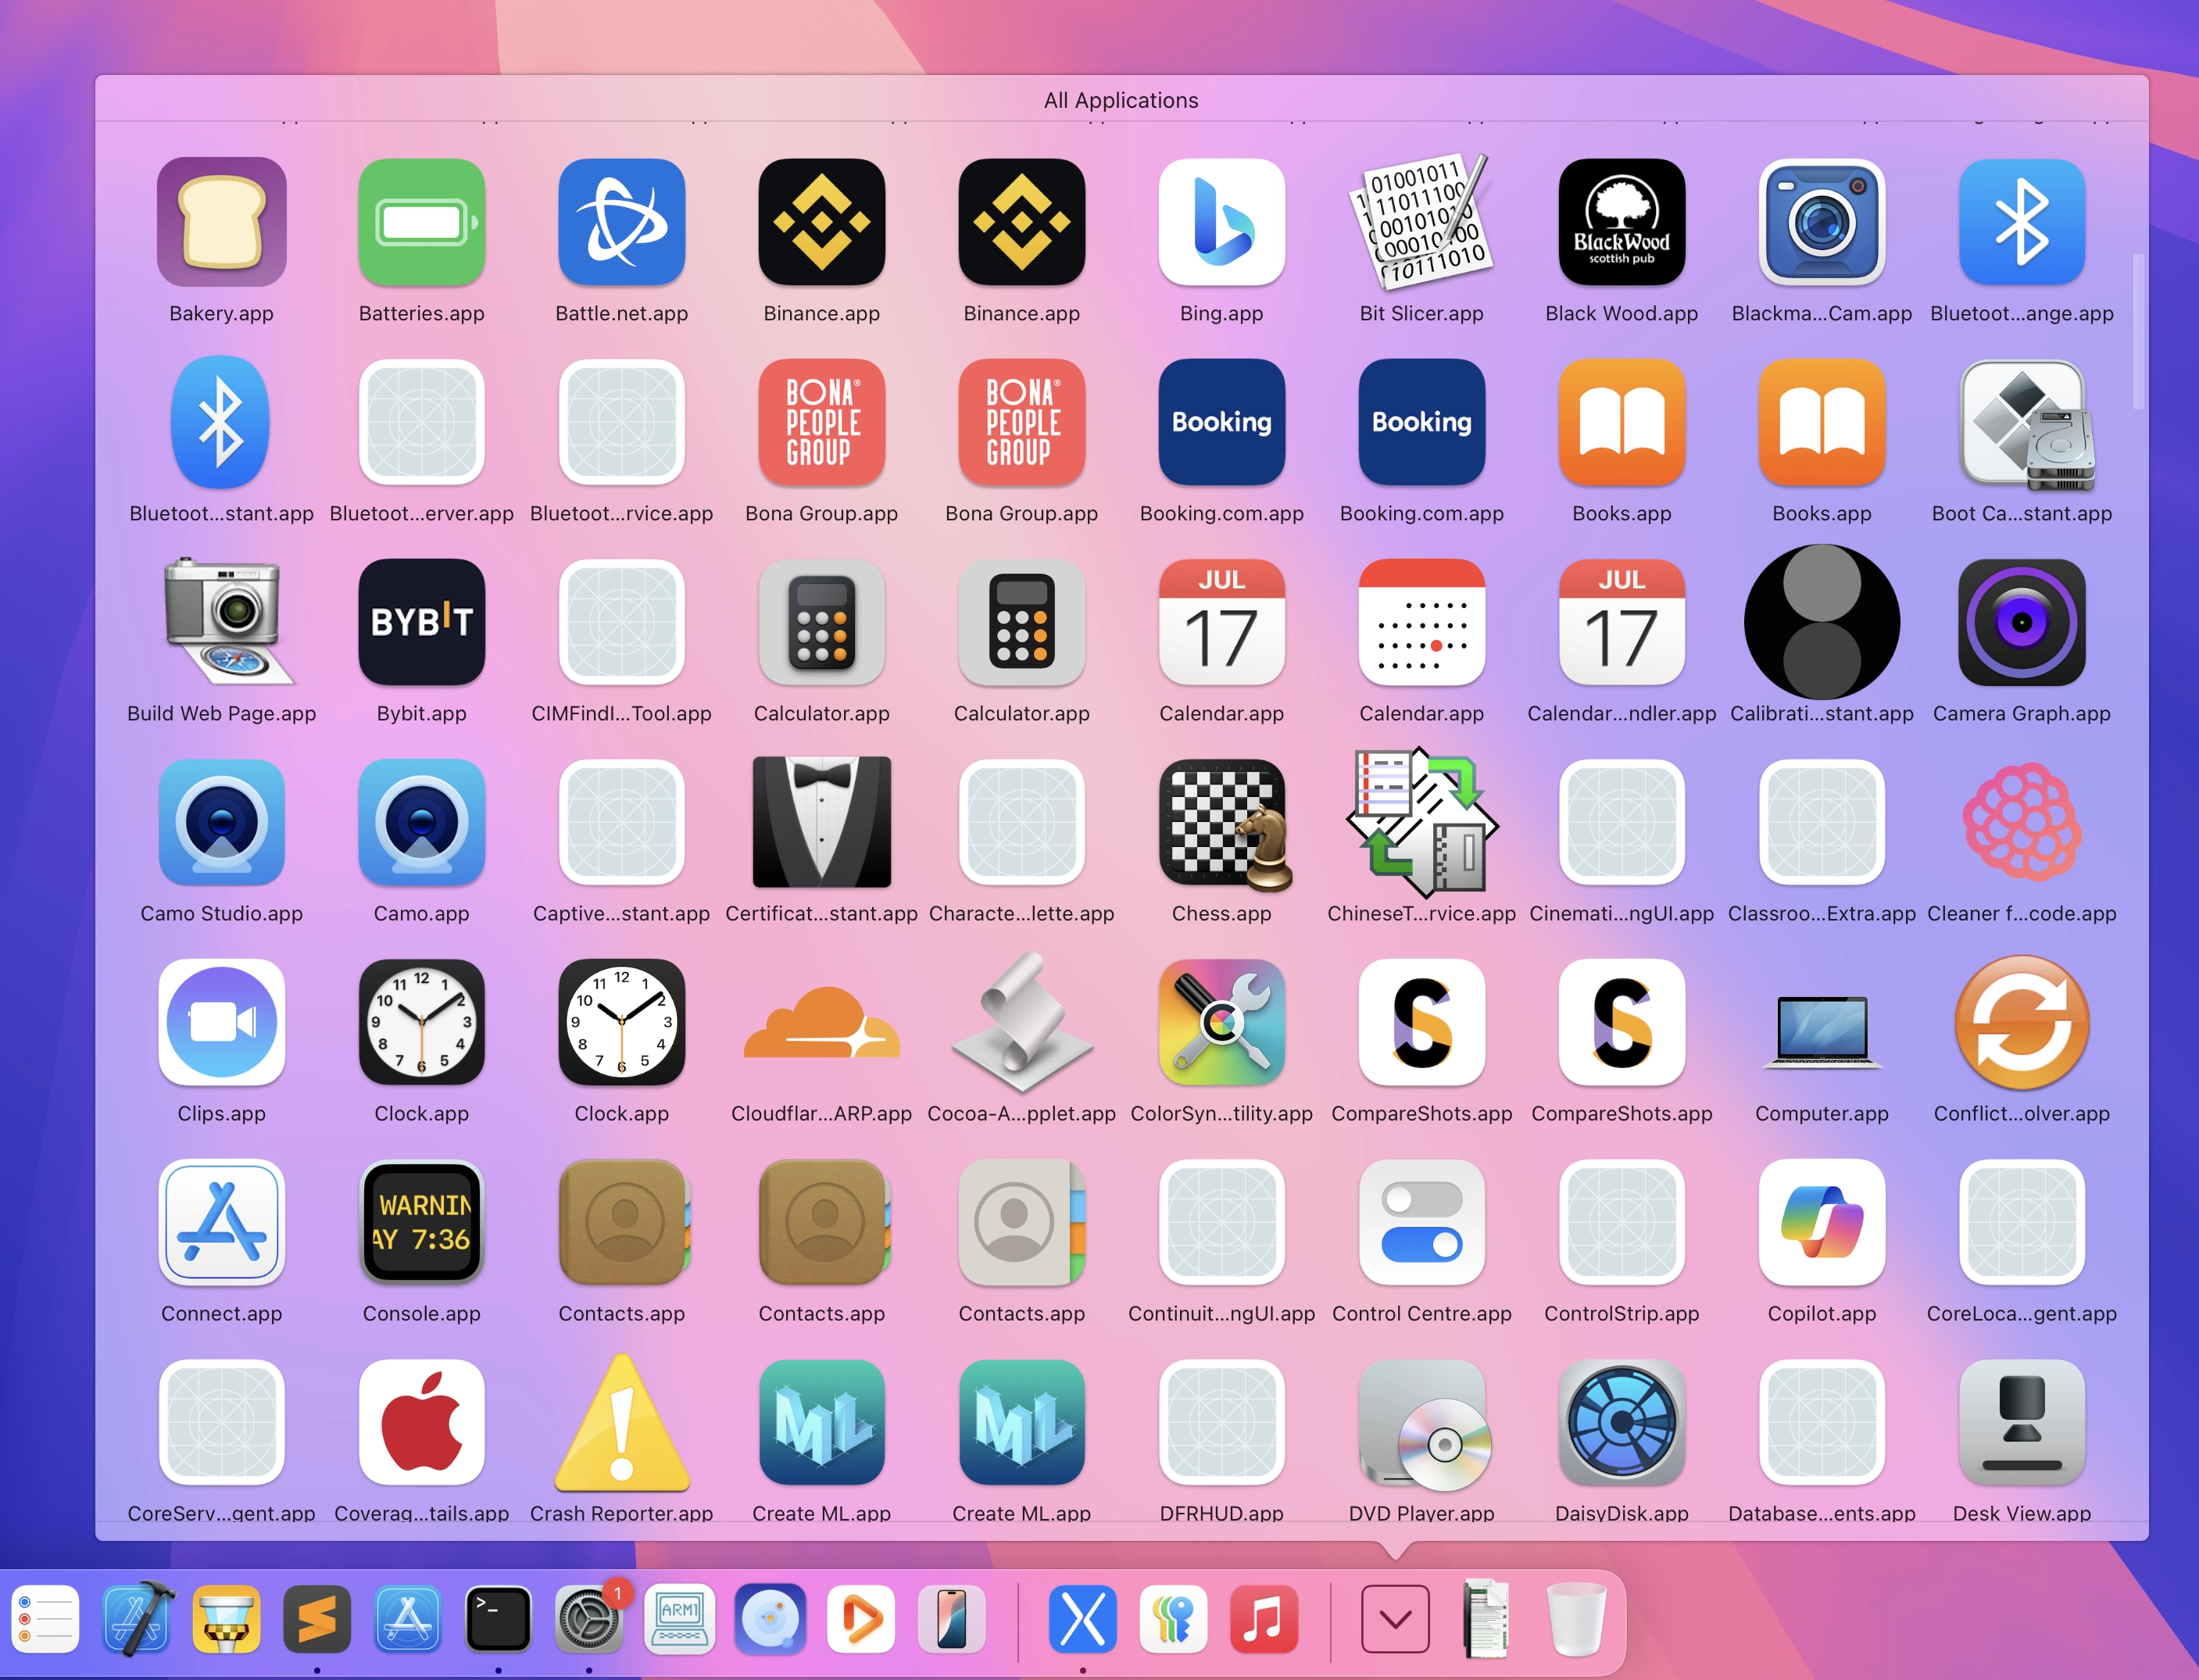
An interesting thing is that only Dock's grid shortcut shows the apps from my iPhone, but not the search in Finder.
And here comes the funny part - that's what you'll see if you will try to launch an app from your iPhone:
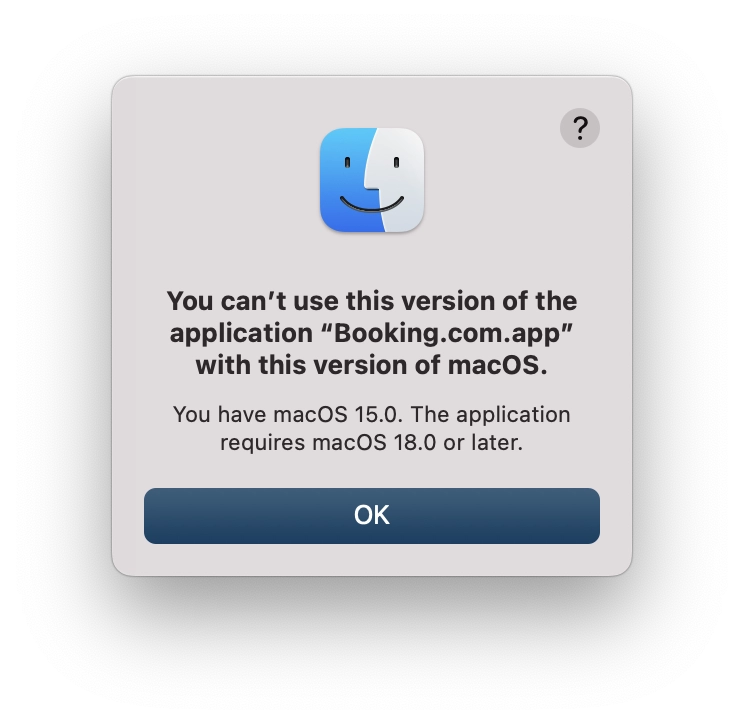
macOS 18.0 or later? Really? I wonder if that's some feature planned for a future macOS update. Will see :)
AppMetric 1.12.0
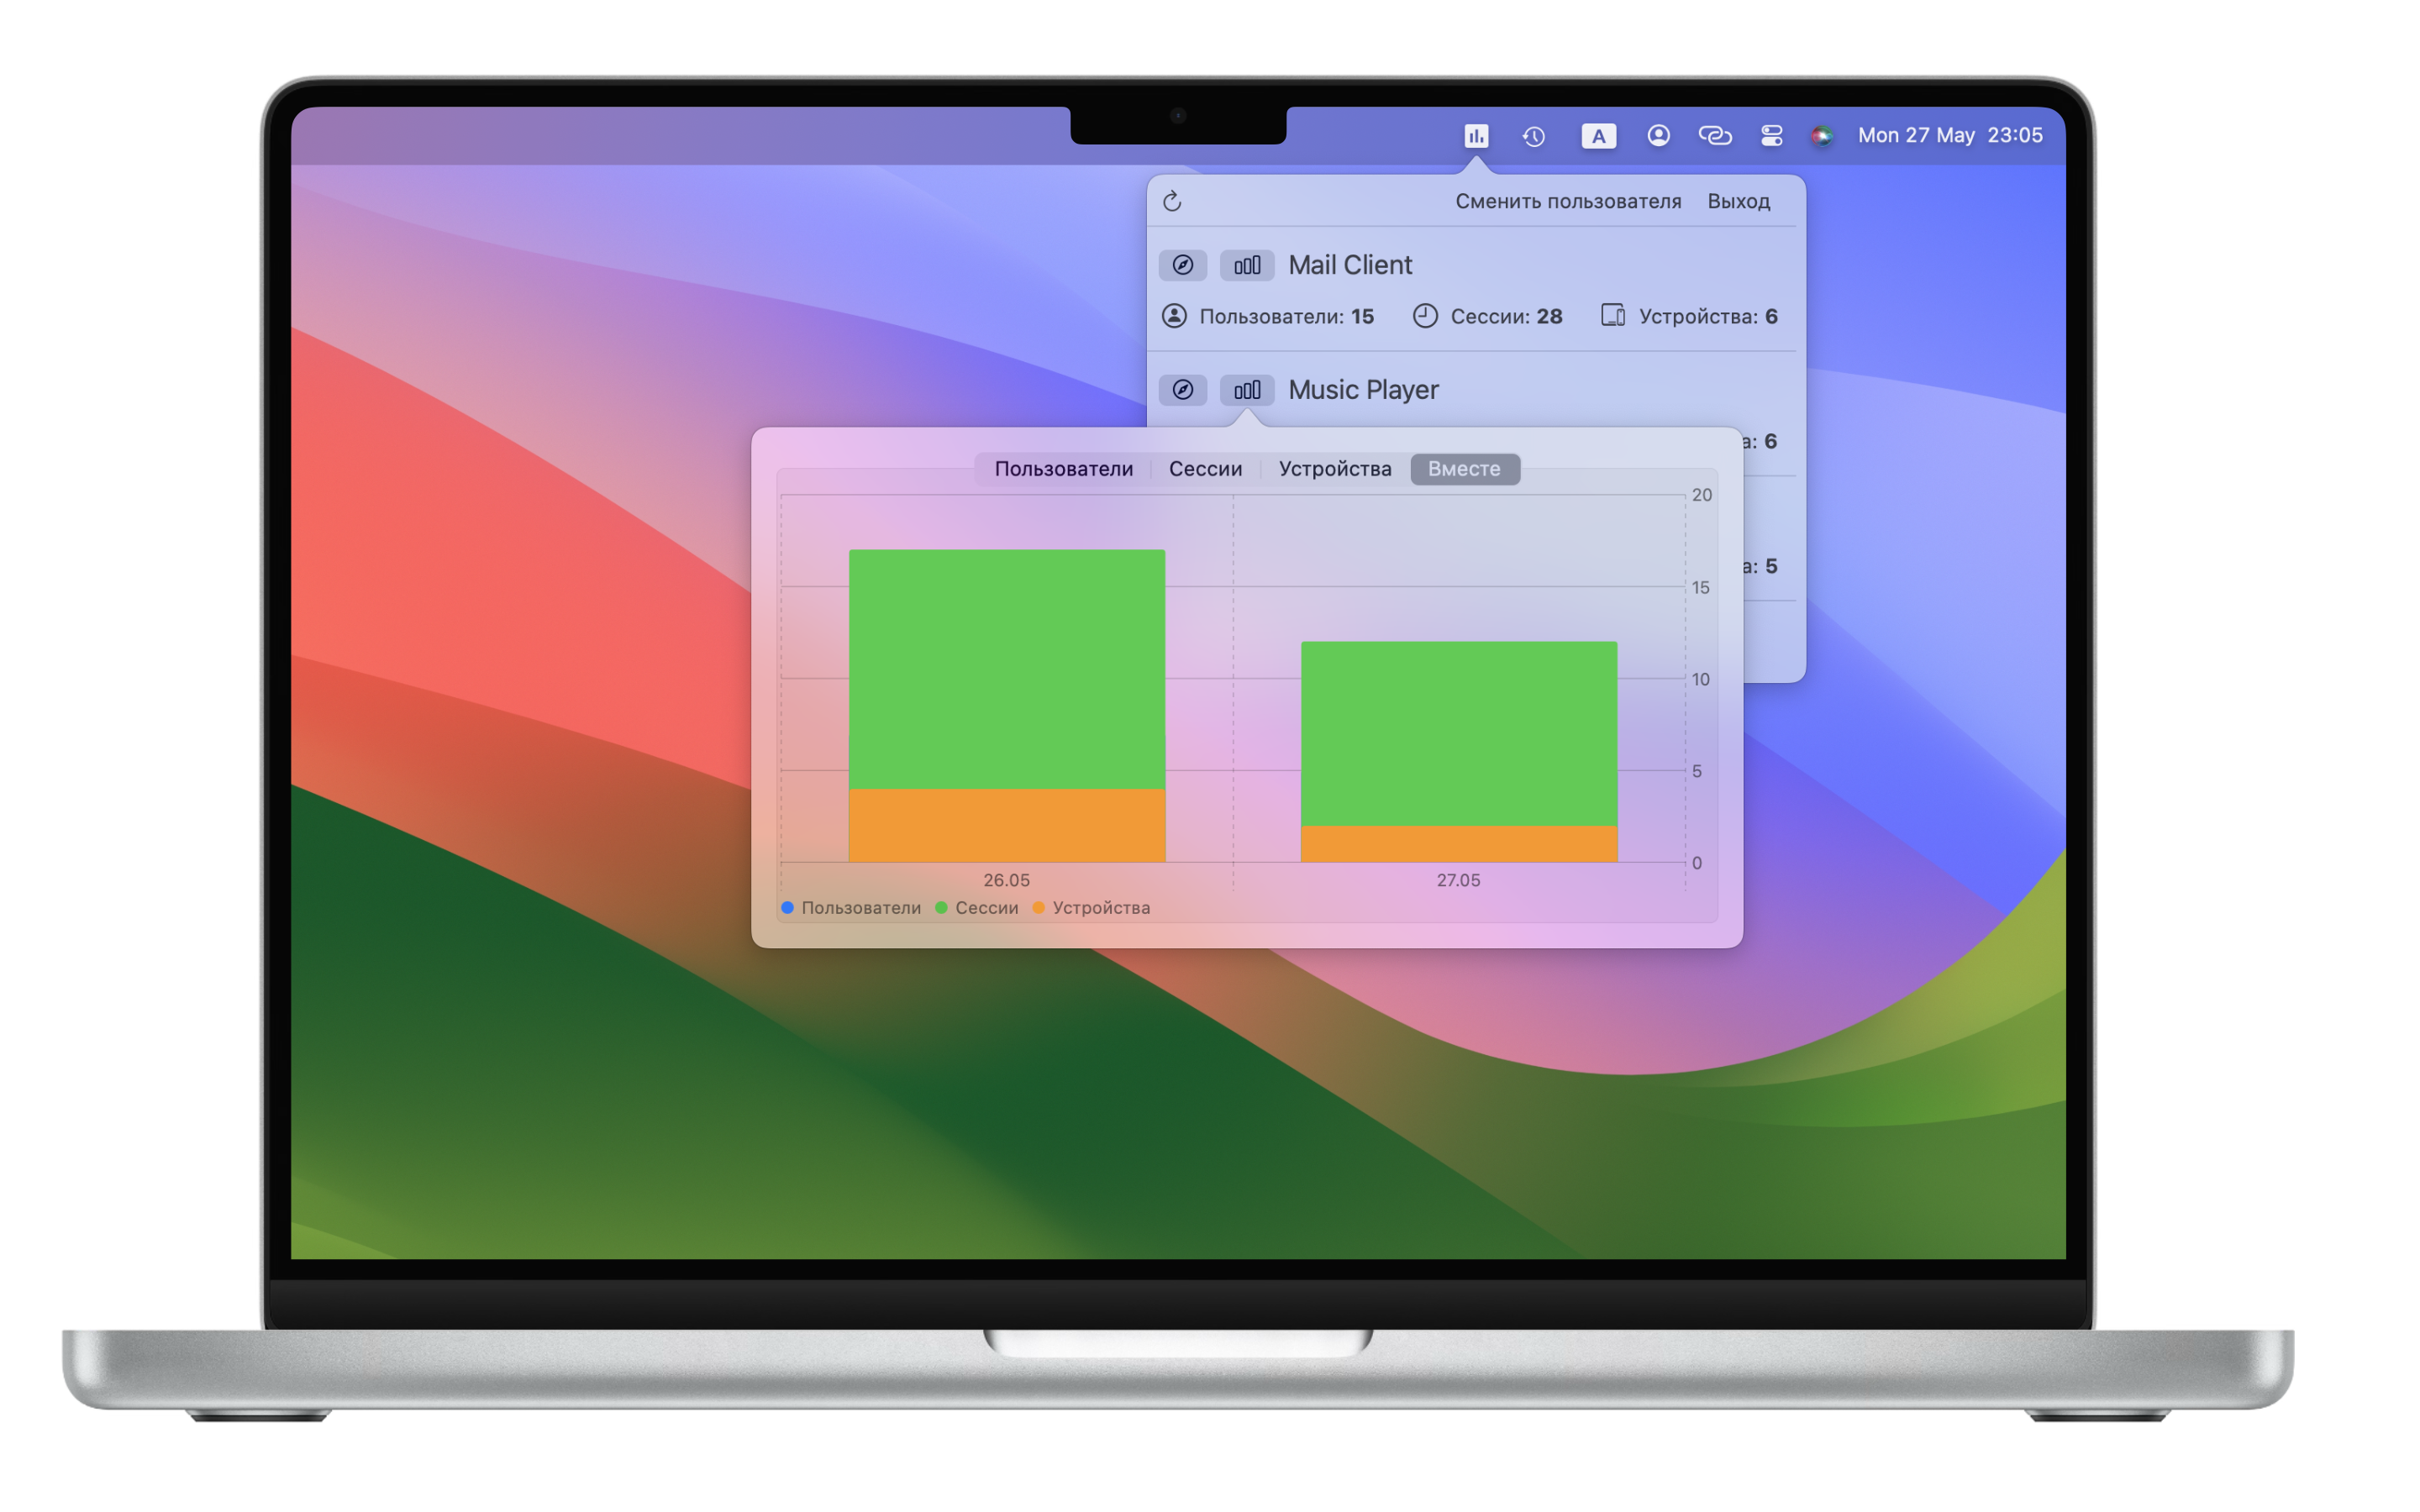
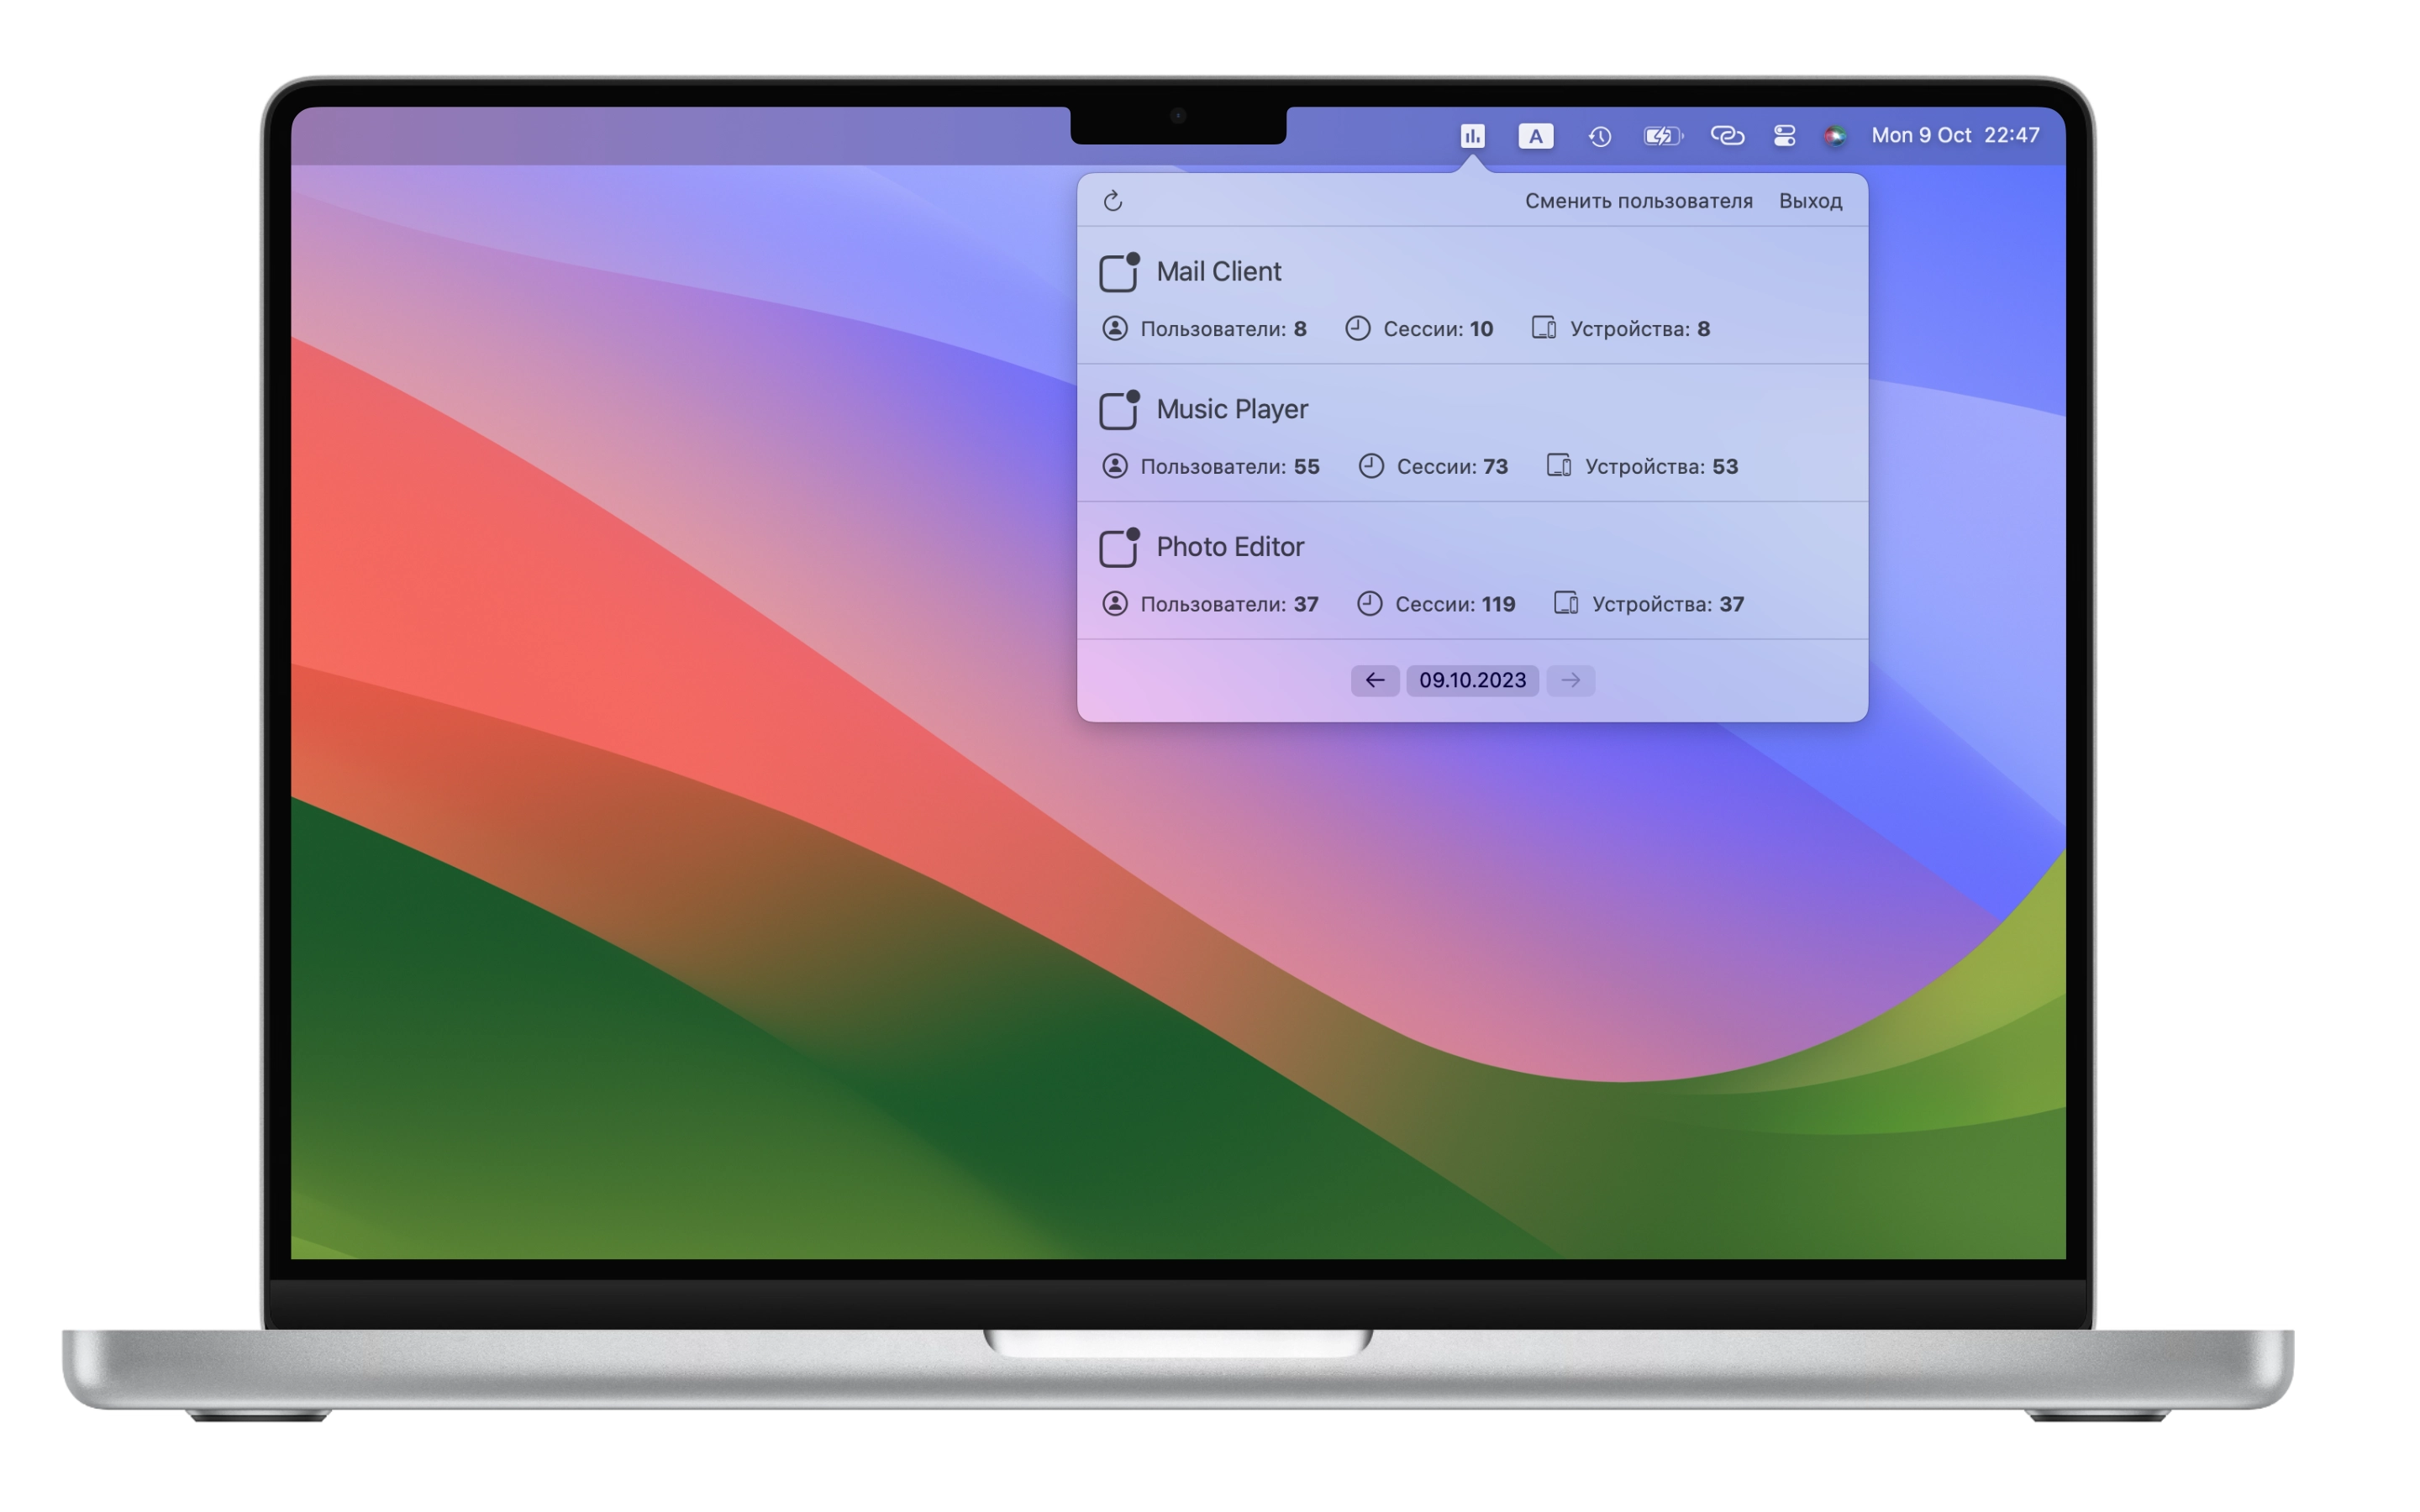
Вышло обновление для AppMetric, версия 1.12.0. Допиливал его в свободное время. Из нового в последних версиях:
- Ревьюверам Apple почему-то не нравится теперь OAuth-авторизация через Safari, пришлось переделать через встроенное окно с WKWebView. Надеюсь, в следующем SwiftUI наконец-то появится свой WebView, и больше не придется использовать обертку.
- Добавил кнопку для быстрого перехода на статистику приложения на сайте Appmetrica.
- Добавил просмотр статистики в виде графиков - как каждого показателя, так и всех показателей вместе. Всего спустя 7 лет после того, как один из пользователей попросил добавить графики :)
- Добавил перевод интерфейса на несколько языков. Благо, с помощью ИИ это сделать теперь совсем просто.
Revamping Documentation with AI
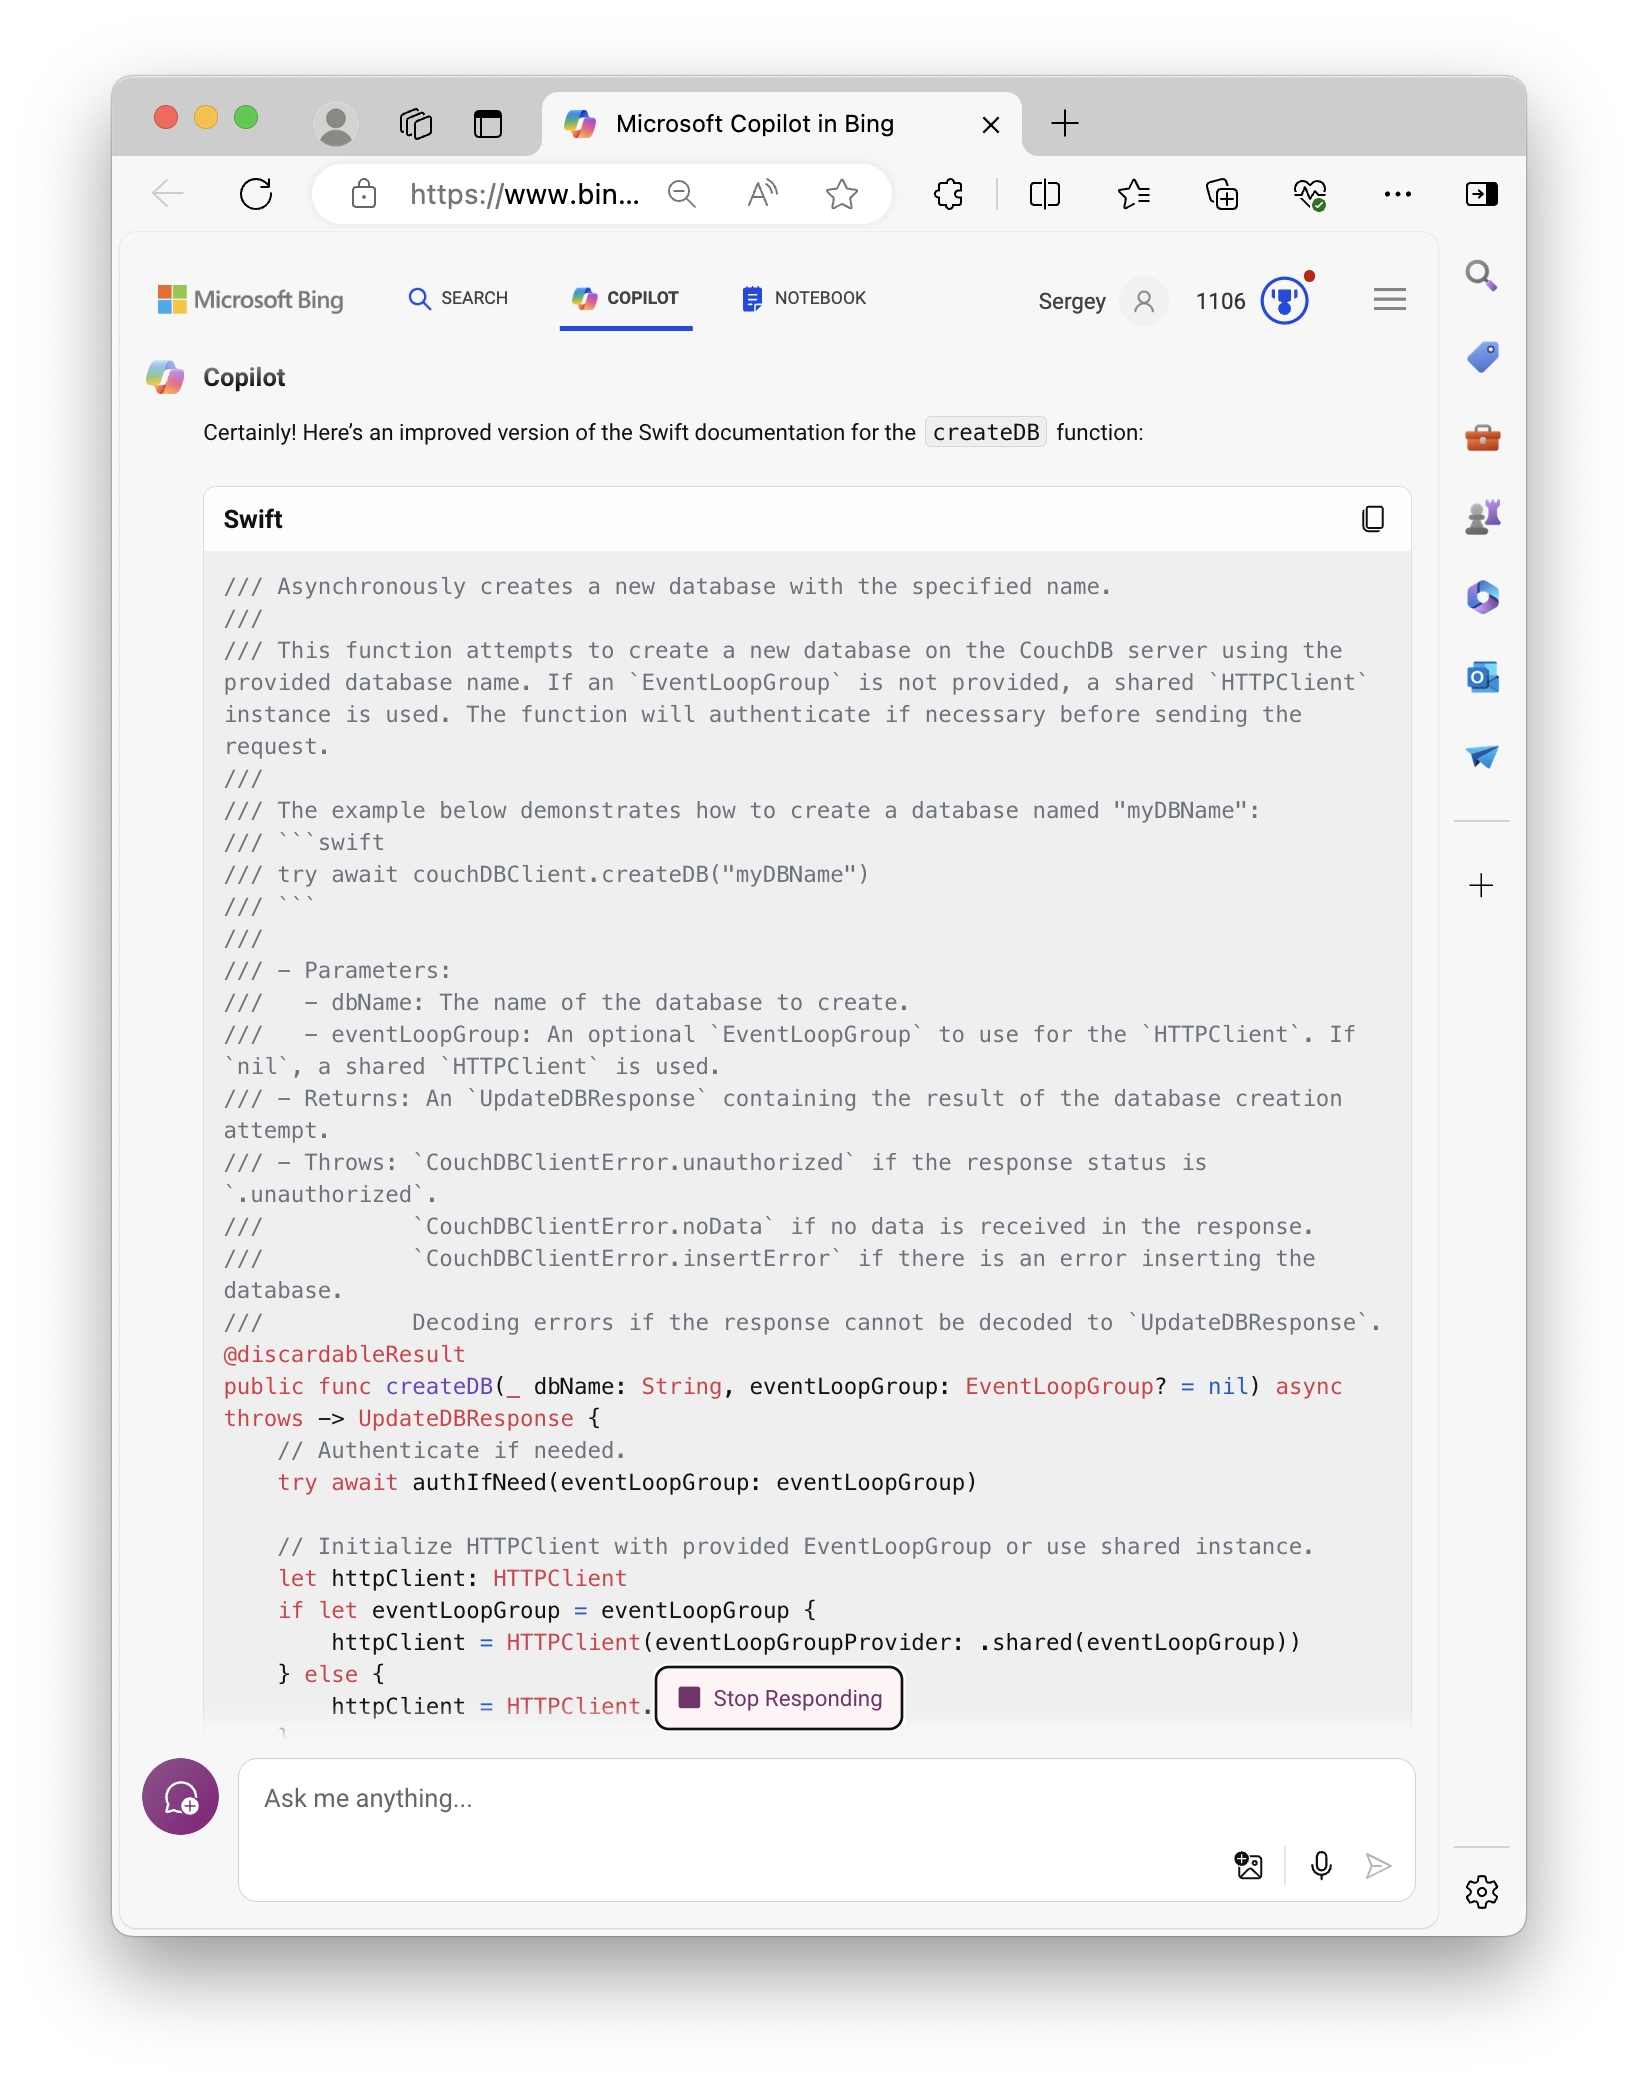
Recently, I’ve been updating docs for the CouchdbClient library. After struggling with some phrases, I decided to try AI to do that for me. Microsoft has Copilot as part of Bing search in the Edge browser.
AppMetric 1.9
Creating a DMG File from the Terminal
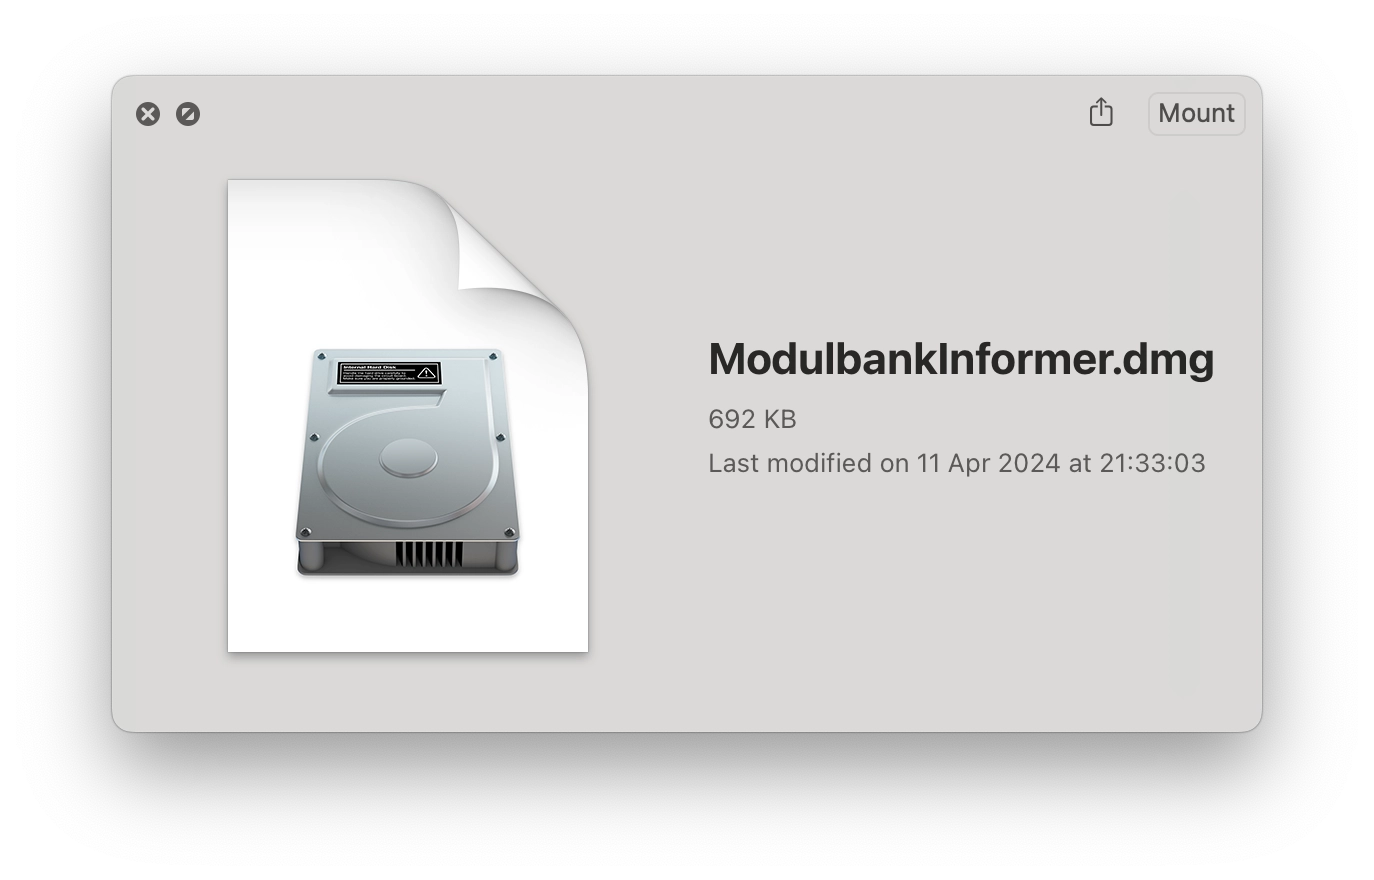
Have you ever needed to package your application for distribution on macOS? The solution is simpler than you might think, and it's right at your fingertips in the Terminal. I recently stumbled upon a handy bash function that streamlines the creation of a DMG (Disk Image) file. Here's how to set it up:
Step 1: Edit Your Profile
nano ~/.zprofileStep 2: Add the Bash Function
Next, insert the following function into your .zprofile. This script utilizes the hdiutil command, which is built into macOS, to create an HFS+ filesystem within a DMG file.
dmg(){
    hdiutil create -fs HFS+ -srcfolder "$1" -volname "$2" "$2.dmg"
}
Step 3: Save and Source Your Profile
After adding the code, save the changes and exit `nano`. To make the function available immediately without restarting your terminal, source your profile:
source ~/.zprofileStep 4: Use the Function
Now, you can easily create a DMG file for any folder or application. For example, to create a DMG for the 'ModulbankInformer.app', simply run:
dmg ModulbankInformer.app ModulbankInformerThis command will generate a ModulbankInformer.dmg file with the contents of the ModulbankInformer.app directory.
And there you have it - a quick and efficient way to create DMG files directly from your Terminal!
Swift CouchDB client 1.5.0

And here we go, one more new version of the CouchDB client library. After the recent post about 1.4.0, Swift on Server released a new version of async-http-client that includes a new implementation of the client singleton. Now it's HTTPClient.shared, so I've updated the CouchDB library to adopt that change. This also means that you no longer need to call httpClient.syncShutdown() if the singleton is used. Additionally, they've bumped the minimum Swift version to 5.8 (which I aslo did in version 1.4.0 of the CouchDB client library). So, I'm keeping the library up to date.
Changelog:
- Bumped the minimum version of async-http-client to the new 1.21.0. If you can't use it in your project, you can still stay on 1.4.0.
- The library will now use HTTPClient.shared (new in async-http-client 1.21.0) internally for requests if no EventLoopGroup is provided.
- No more internal calls for httpClient.syncShutdown() in case of HTTPClient.shared usage.
CouchDB Client on GitHub | Documentation with examples and tutorials.


