Using UINavigationController together with UITabBarController
Needed to use both UINavigationController and UITabBarController in the same project. Two ways to do it.
Let’s create an empty project. We’ll wire the controllers up by hand. So we have AppDelegate.h and AppDelegate.m.
Approach 1. UINavigationController inside UITabBarController. (via @vox_humana)
In this approach the app always has a Tab Bar — it’s always visible and you can always switch between tabs. Inside one of the tabs (or in all of them, if you like) there’s a view with a UINavigationController, in which you can move between views via push and pop.
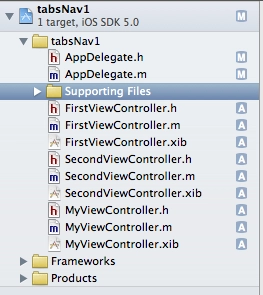
Create two new files of type UIViewController subclass (with the «with XIB for user interface» checkbox). Let’s name them FirstViewController and SecondViewController. These will be the two views displayed in the two tabs.
Our AppDelegate.h in the empty project looks like this:
#import <UIKit/UIKit.h>

@interface AppDelegate : UIResponder <UIApplicationDelegate>

@property (strong, nonatomic) UIWindow *window;

@end
We need to add a new @property with a UITabBarController:
#import <UIKit/UIKit.h>

@interface AppDelegate : UIResponder <UIApplicationDelegate>

@property (strong, nonatomic) UIWindow *window;

@property (strong, nonatomic) UITabBarController *tabBarController;

@end
Now over to AppDelegate.m. Here we need to import the FirstViewController and SecondViewController we just created, and add a @synthesize for the tabs:
#import "AppDelegate.h"
#import "FirstViewController.h"
#import "SecondViewController.h"

@implementation AppDelegate

@synthesize window = _window;
@synthesize tabBarController = _tabBarController;
Inside didFinishLaunchingWithOptions we put the following:
- (BOOL)application:(UIApplication *)application didFinishLaunchingWithOptions:(NSDictionary *)launchOptions
{
    // create the application window matching the screen size
    self.window = [[UIWindow alloc] initWithFrame:[[UIScreen mainScreen] bounds]];

    // create two UIViewController instances
    UIViewController *viewController1, *viewController2;

    // initialise the first view with our first controller’s interface
    viewController1 = [[UINavigationController alloc] initWithRootViewController:[[FirstViewController alloc] initWithNibName:@"FirstViewController" bundle:nil]];

    // initialise the second view with our second controller’s interface
    viewController2 = [[SecondViewController alloc] initWithNibName:@"SecondViewController" bundle:nil];

    // hook our views into the tab bar
    self.tabBarController = [[UITabBarController alloc] init];
    self.tabBarController.viewControllers = [NSArray arrayWithObjects:viewController1, viewController2, nil];

    // make tabBarController the app’s root view controller
    self.window.rootViewController = self.tabBarController;

    [self.window makeKeyAndVisible];
    return YES;
}
Now on launch we’ll get a tab bar at the bottom of the screen. Each tab will have its controller. The first controller (viewController1) will contain a UINavigationController, which lets us push and pop views. As an example let’s add another UIViewController subclass (with the «with XIB for user interface» checkbox). Let’s call it MyViewController. So the project now has 3 UIViewControllers:
Since viewController1 (a.k.a. FirstViewController) contains a UINavigationController, let’s add some action to it that takes us to our controller. First, at the top of FirstViewController.m add #import "DetailViewController.h", then add a method:
- (IBAction)pushToMyController:(id)sender {
    MyViewController * childControl = [[MyViewController alloc] initWithNibName:@"MyViewController" bundle:nil];
    [[self navigationController] pushViewController:childControl animated:YES];
}
And of course don’t forget to declare it in FirstViewController.h:
- (IBAction)pushToMyController:(id)sender;
Add a button in FirstViewController.xib and wire it up via the Connection Inspector to our action:
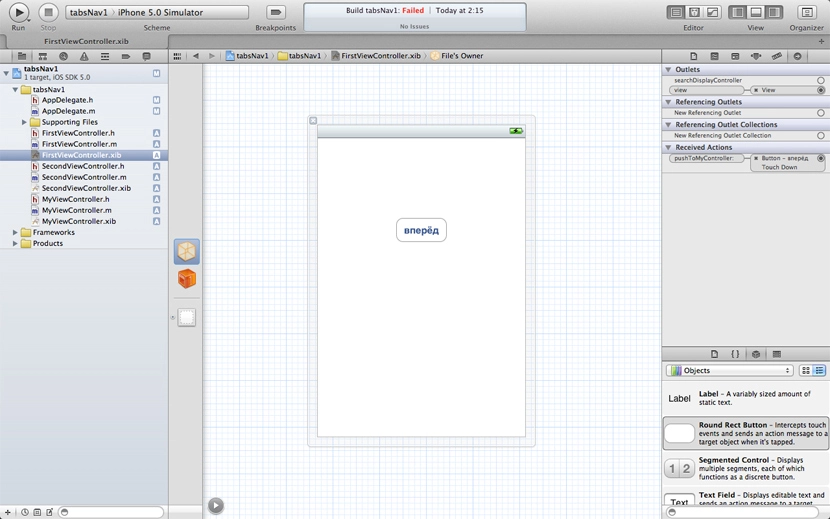
Done. Time to run it. The result looks like this:
The Dropbox iPhone app, for instance, is built on this principle. Download the working example.
Approach 2. UITabBarController inside UINavigationController.
We start by creating a RootViewController. It needs an @property:
@property (nonatomic, retain) IBOutlet UITabBarController *tabBarController;
Add a UITabBarController to the xib, wire it up in Connections Inspector. Create two views in the project — FirstViewController and SecondViewController — and in the UITabBarController inside RootViewController.xib, wire the tabs to those views.
Here’s the start of AppDelegate.m:
#import "AppDelegate.h"
#import "RootViewController.h"

@implementation AppDelegate

@synthesize window = _window;
@synthesize viewController = _viewController;

- (BOOL)application:(UIApplication *)application didFinishLaunchingWithOptions:(NSDictionary *)launchOptions
{
    // create the window
    self.window = [[UIWindow alloc] initWithFrame:[[UIScreen mainScreen] bounds]];

    // create the main controller
    self.viewController = [[RootViewController alloc] initWithNibName:@"RootViewController" bundle:nil];

    // create the UINavigationController
    navigationController = [[UINavigationController alloc] initWithRootViewController:self.viewController];

    // make UINavigationController the main controller
    self.window.rootViewController = navigationController;
    [self.window makeKeyAndVisible];
    return YES;
}
The general idea: self.window.rootViewController is a UINavigationController. The app has a RootViewController with its own xib. You can leave it empty, but it needs an @property:
@property (nonatomic, retain) IBOutlet UITabBarController *tabBarController;When the RootViewController’s view loads, we immediately push our tabBarController. So the first thing the user sees on launch is the tabs and the top bar with a Back button — which you can hide here and show only later somewhere else.
The main upside — inside the views loaded inside the UITabBarController you can navigate the main screen to other views and back, all from code. Video:
The VKontakte iPhone app is built on this principle. My example isn’t implemented perfectly — could be polished — but it works. Download the example.
Will come in handy in the future — and going through it again helped me lock it in.