How to update a Hackintosh from OS X Mavericks to Yosemite
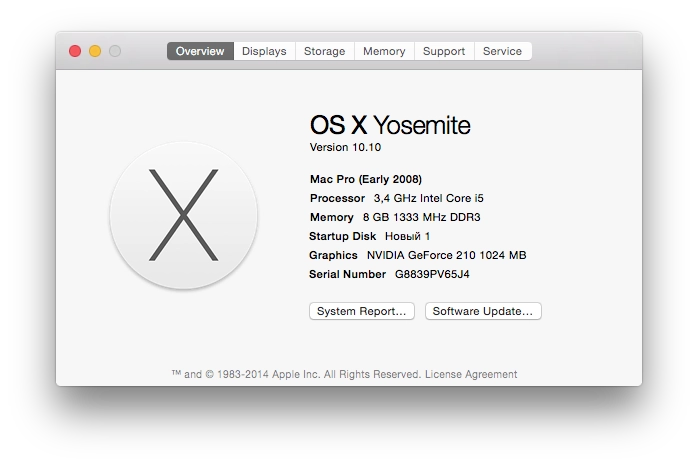
I finally updated my work Hackintosh from OS X 10.9 to 10.10. It took a lot of time. Here is how I did it and what problems I ran into.
I finally updated my work Hackintosh from OS X 10.9 to 10.10. It took a lot of time. Here is how I did it and what problems I ran into.
So, here is what we need for the update:
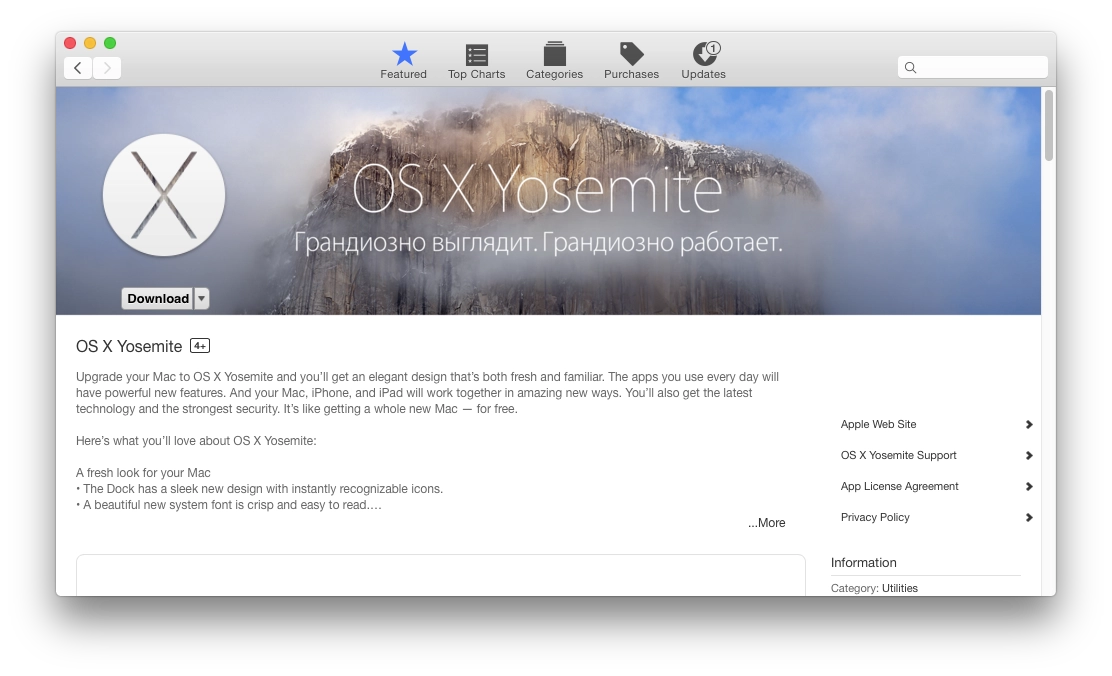
- OS X Yosemite installer. Open the Mac App Store and download it from there. In my case, as before, trying to run it directly to upgrade the OS was pointless: the installer says it is ready to install everything but needs a reboot. You reboot, and nothing happens — you just land back in Mavericks.
- An 8 GB flash drive or larger. A USB hard drive also works.
- Unibeast to create a bootable flash drive (download it here).
- Multibeast to install drivers and the bootloader after the OS is installed (download it from the same place, here).
Bootloader
I used to have Mountain Lion, which I updated to Mavericks a year ago, and now I updated Mavericks to Yosemite. Since then I had the Chameleon bootloader installed. It was an old version. Because of that, after installing the OS I could not get the new bootloader from Multibeast to install, and the old one could not boot macOS — it just sent the computer into an endless reboot loop. So I could not even see the boot error that was preventing the OS from loading.
So it is better to download and install in advance the latest version of Chameleon and the latest version of Chimera, because for some reason they do not install from Multibeast after the upgrade.
Foreign guides also say that you need to edit the file /Extra/org.chameleon.Boot.plist and remove these 2 lines:
Kernel
mach_kernel
Preparing the bootable flash drive
So, the Yosemite installer has been downloaded from the App Store and the latest bootloader version is installed. Time to prepare the flash drive. Start Disk Utility in macOS, select the target drive, then open the Partition tab. There is one important detail here. I had an external 160 GB drive. If I formatted it as one large partition, Unibeast, which creates the bootable drive, simply did not recognize it as a flash drive. The workaround was to split the drive into 2 partitions. I made one 32 GB partition and left the rest in the second one.
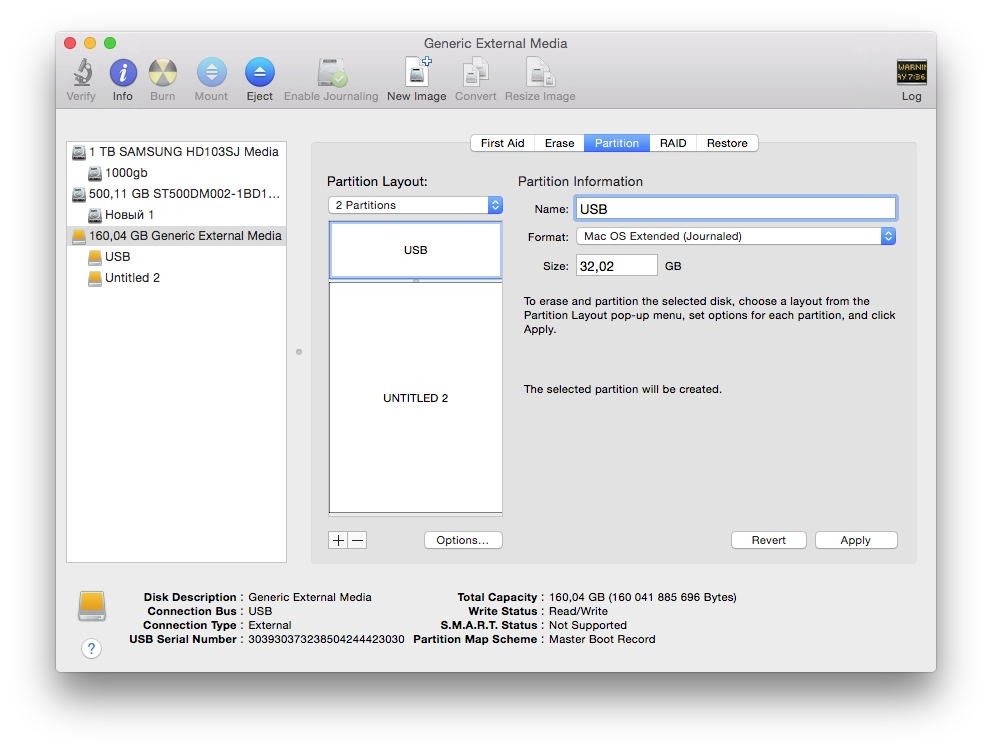
After that, click Options and choose Master Boot Record. Click OK, then Apply, and wait until Disk Utility prepares the flash drive / hard drive.
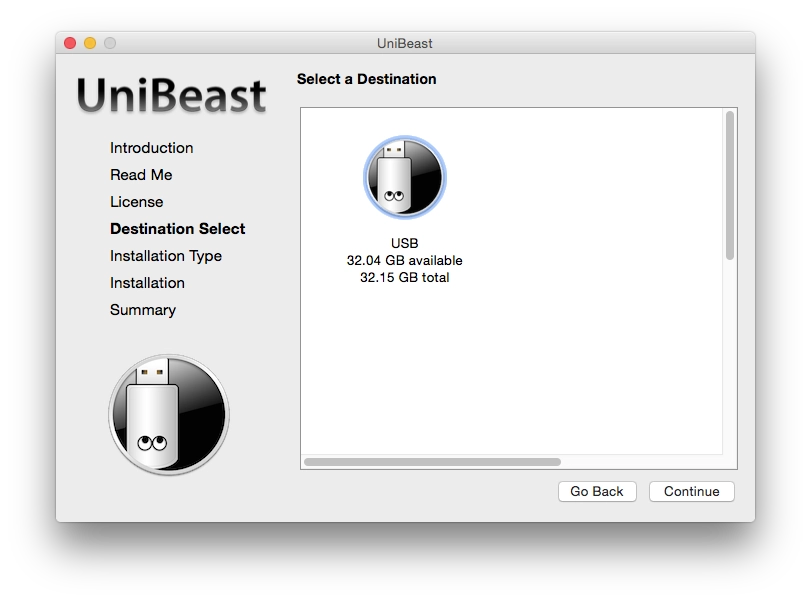
Then launch Unibeast and follow the installation steps. Select the flash drive or the partition on the external hard drive:
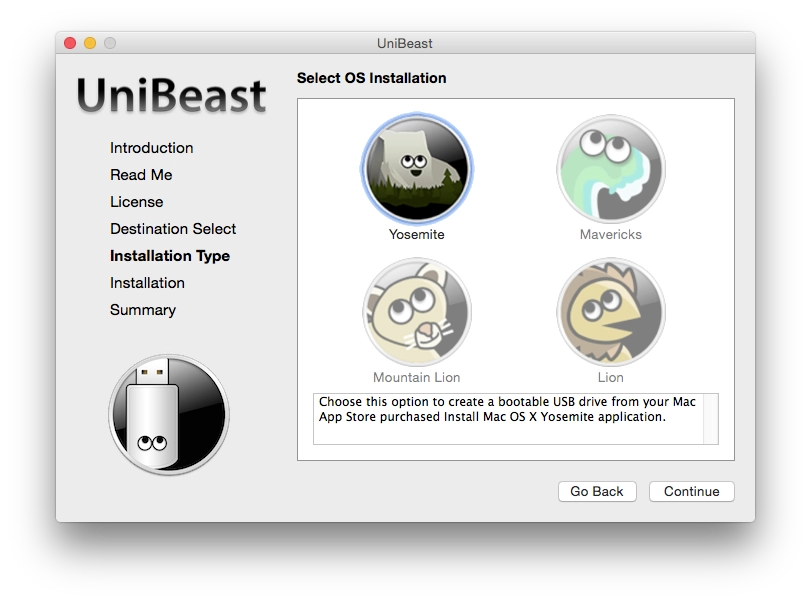
On the next step, choose Yosemite:
On the next step, if you have a laptop, choose Laptop Support. If not, continue. I do not know about the USB Legacy Support option. Most likely it is for people whose USB ports do not work out of the box. I did not need that option.

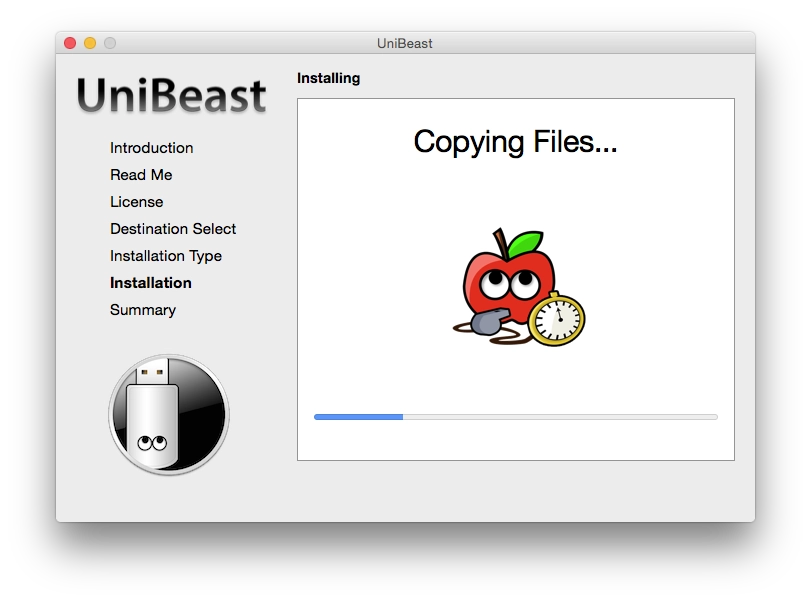
Click Continue, then Continue again, enter your user password, and wait until Unibeast creates the bootable installer flash drive.
When it is done, reboot the computer, choose the flash drive at startup, and boot from it.
Updating OS X Mavericks to Yosemite
If everything goes well, you will land in the Chimera bootloader. Select the USB drive there. After that you should end up in the OS X Yosemite installer. Most of the time it does not start that easily. So when selecting the USB drive in Chimera, you can also type boot flags (just start typing on the keyboard and the entered text will appear at the bottom). I booted with the flags -v -f -x (without quotes) and got into the installer. Although I think I first saw a black screen, so besides those 3 flags I also had to add GraphicsEnabler=Yes. Then follow the standard installation steps. When you get to the disk selection step, choose the disk that already has OS X Mavericks installed — the installer will automatically upgrade it to Yosemite and keep your settings and files.
When the installer finishes, it will ask you to reboot. Reboot. Again boot from the USB drive. This time choose the disk where Yosemite was installed. I had to boot again with the -v -f -x flags.
Then comes the part where you clean up the problems. If everything goes well, you will boot into OS X safe mode, where you can install all the drivers you need from the Multibeast package downloaded earlier.
I was less lucky.
Pitfalls
First I realized that my old OS bootloader would not boot, while the USB bootloader would. Installing the bootloader from Multibeast simply did nothing. That is why I had to download and install Chameleon separately and then Chimera. It took me a long time to figure that out through trial and error. It took so long because every reboot of the computer took about 10 minutes.
Then I noticed an error in the console saying that FakeSMC.kext was already loaded, and the OS did not like trying to load a duplicate. It turned out that back when I was randomly poking at drivers, I had some myHack.kext lying in /System/Library/Extension, and it already contained an old FakeSMC version. It did not fit the new OS and blocked the loading of the new one installed by Multibeast. I had to remove it.
Editing the file /Extra/org.chameleon.Boot.plist did not go smoothly either. Because my bootloader was old, it complained when that line was removed. So if something went wrong, you could no longer boot at all. In the end I had to boot into Single User Mode (add the -s flag at startup) and edit that file again in the console. The working solution was to keep those lines but replace mach_kernel with /Systems/Library/Kernels/kernel. Or maybe that was not even the real reason. With the confusion caused by the bootloader, I never fully figured it out. In any case, if you have the latest bootloader installed, either remove those 2 lines or write /Systems/Library/Kernels/kernel instead of mach_kernel. In my currently working system those lines are gone :)
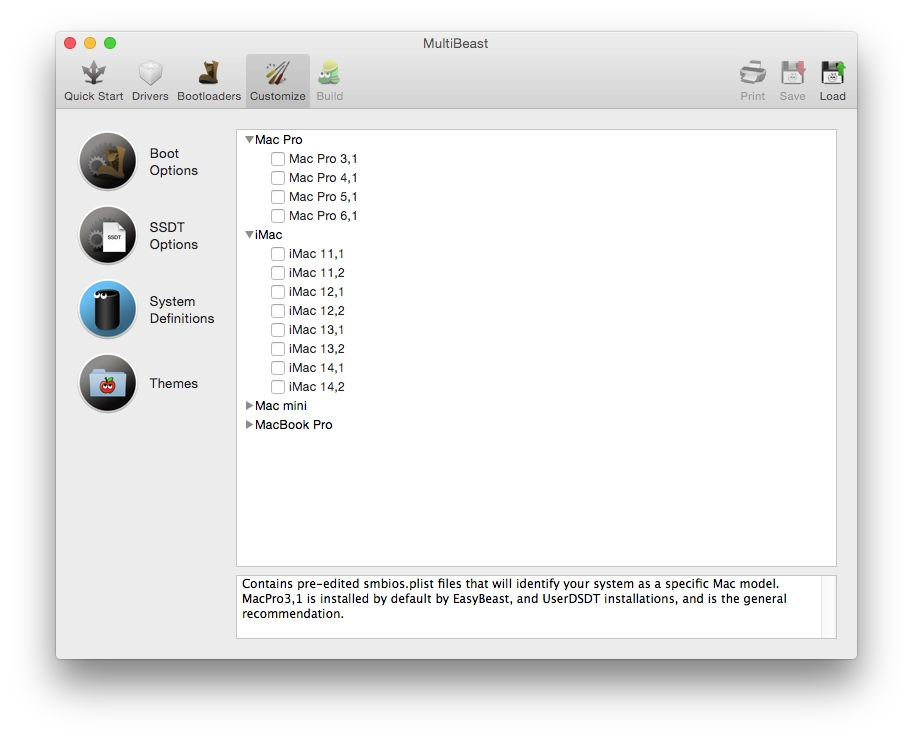
When installing packages from Multibeast, there is a Customize -> System Definitions section where you can make the OS think your PC is a Mac Pro, Mac Mini, iMac, or Macbook Pro. In my case the system booted normally when I defined the machine as iMac 14,2. But after that I decided to update the native NVIDIA drivers for macOS, and the installer said that this computer was incompatible. I started trying Mac Pro variants starting from the latest one (6,1), after which the system would not even boot in normal mode anymore (I had to boot again with -v -x -f). In the end the working option turned out to be Mac Pro 3,1. With it, the system booted normally and the installer for the new NVIDIA drivers agreed to install.
And the last pitfall was the one I described earlier in my cheat sheet: a Kernel Panic with the error Kernel extensions in backtrace org.apple.driver.applertc(1.5). In the new macOS version, the number in parentheses is no longer 1.5 but 2.0. To solve it, you need to install the package “10.8.1 Rollback” from Multibeast, in Drivers -> System -> AppleACPIPlatform Rollback. The catch is that it exists only in the Multibeast 6 branch. Luckily I still had the old 6.4.2 version and installed it from there. In Multibeast 7 it is gone. There is a package called “10.9.5 AppleACPIPlatform Rollback”, but it did not solve my problem. I had to install the old package.
So, after about 6 hours of poking at it, I finally got everything configured and decided to write this post. I hope it saves someone some time so they do not have to poke around blindly like I did. At the very least it may help me too if I have to do this again later. By the way, many common problems and their solutions are listed here. That link is where I found the short upgrade guide and some of the fixes. It is in English, though.
Good luck, damn Hackintosh :)