funky-play 1.2
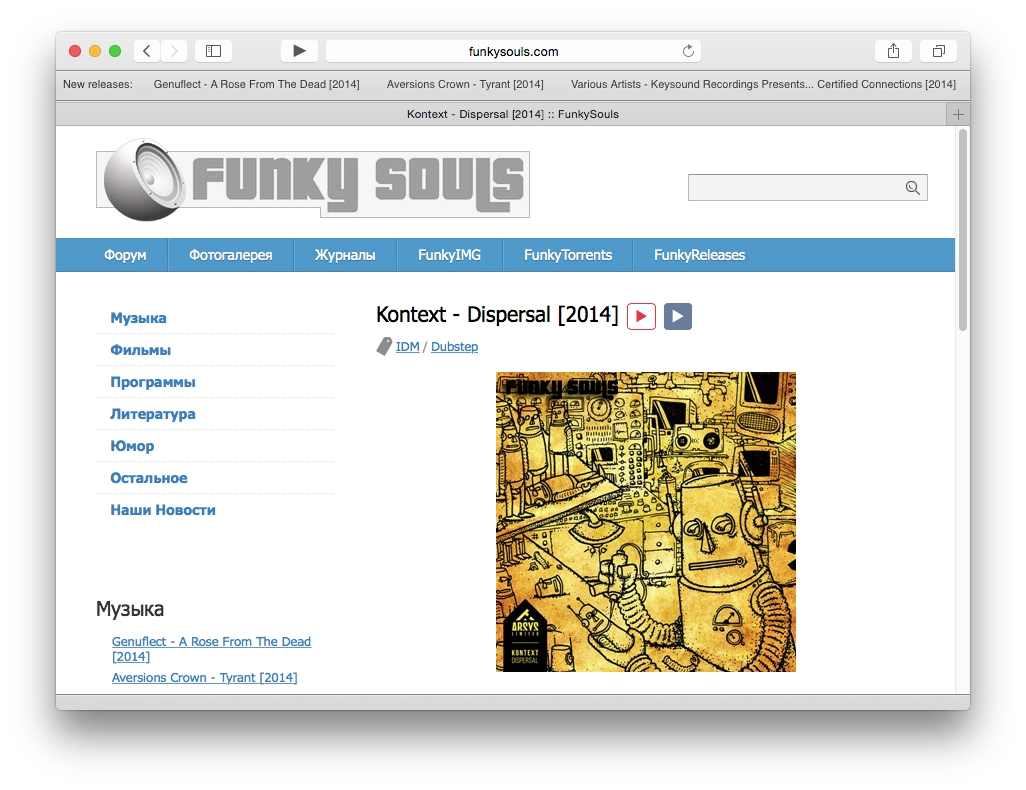
Updated the Safari extension. It now shows 5 releases in the toolbar instead of 3. And the design now matches Safari 8.
Updated the Safari extension. It now shows 5 releases in the toolbar instead of 3. And the design now matches Safari 8.
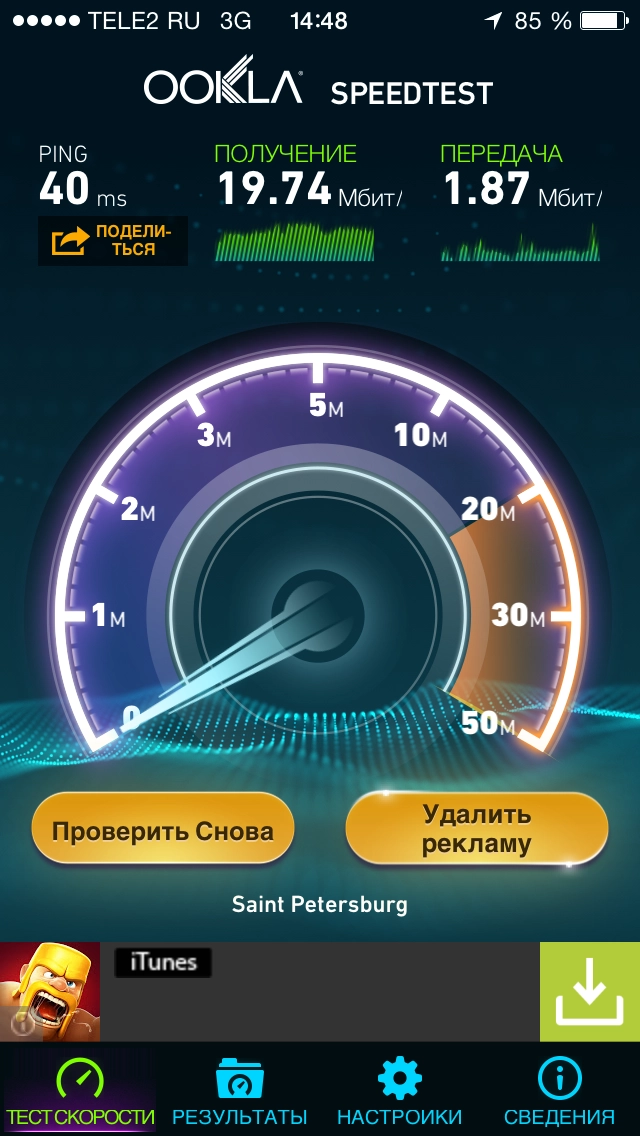
Hooray, it finally happened. TELE2 launched 3G in Saint Petersburg today. They will enable it for everyone gradually over 3 weeks, but if you can’t wait, you can call 611 and ask the operator to turn it on right now. I’ll leave this screenshot here so that in a couple of months I can measure the speed again and compare whether it got better or worse :) They say they want to launch LTE in summer 2015. Progress finally reached TELE2.
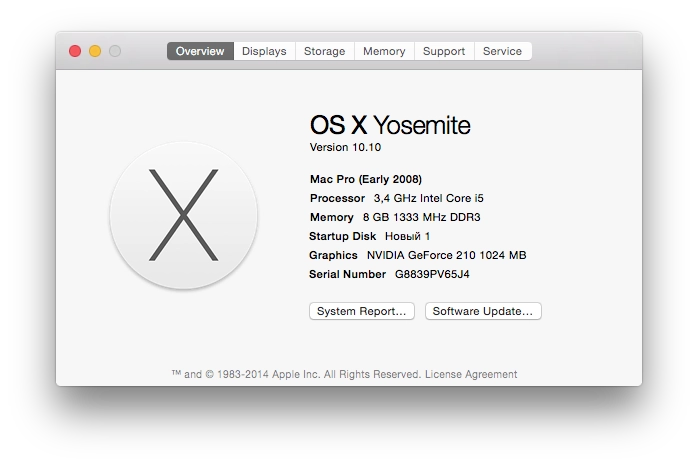
I finally updated my work Hackintosh from OS X 10.9 to 10.10. It took a lot of time. Here is how I did it and what problems I ran into.
I finally updated my work Hackintosh from OS X 10.9 to 10.10. It took a lot of time. Here is how I did it and what problems I ran into.
So, here is what we need for the update:
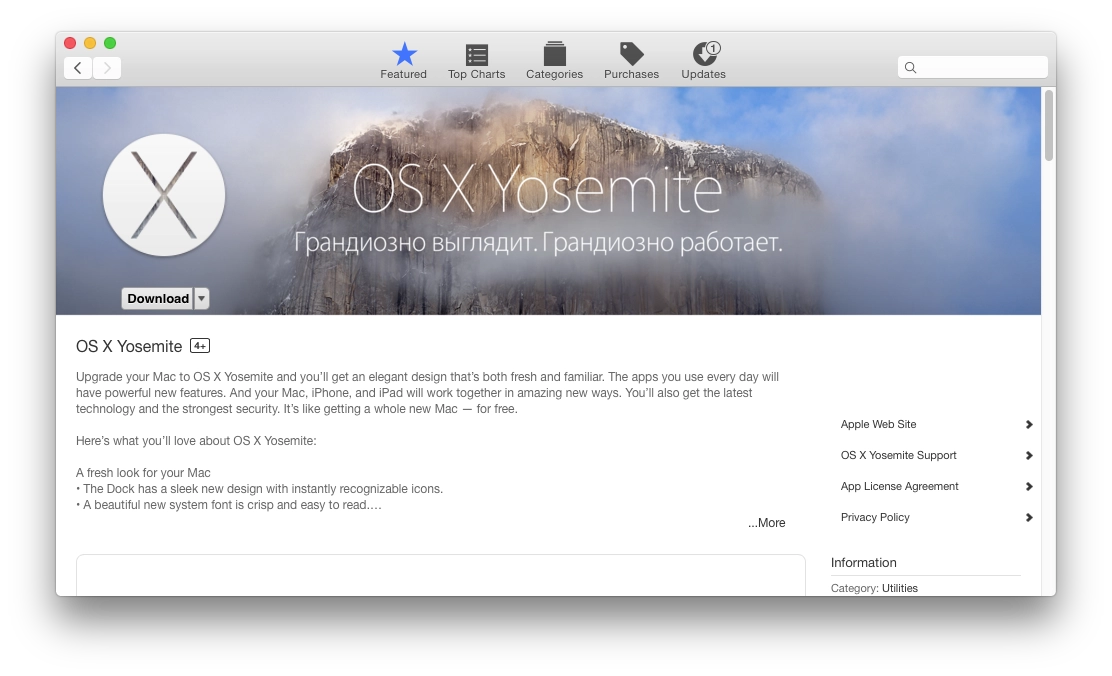
I used to have Mountain Lion, which I updated to Mavericks a year ago, and now I updated Mavericks to Yosemite. Since then I had the Chameleon bootloader installed. It was an old version. Because of that, after installing the OS I could not get the new bootloader from Multibeast to install, and the old one could not boot macOS — it just sent the computer into an endless reboot loop. So I could not even see the boot error that was preventing the OS from loading.
So it is better to download and install in advance the latest version of Chameleon and the latest version of Chimera, because for some reason they do not install from Multibeast after the upgrade.
Foreign guides also say that you need to edit the file /Extra/org.chameleon.Boot.plist and remove these 2 lines:
Kernel
mach_kernel
So, the Yosemite installer has been downloaded from the App Store and the latest bootloader version is installed. Time to prepare the flash drive. Start Disk Utility in macOS, select the target drive, then open the Partition tab. There is one important detail here. I had an external 160 GB drive. If I formatted it as one large partition, Unibeast, which creates the bootable drive, simply did not recognize it as a flash drive. The workaround was to split the drive into 2 partitions. I made one 32 GB partition and left the rest in the second one.
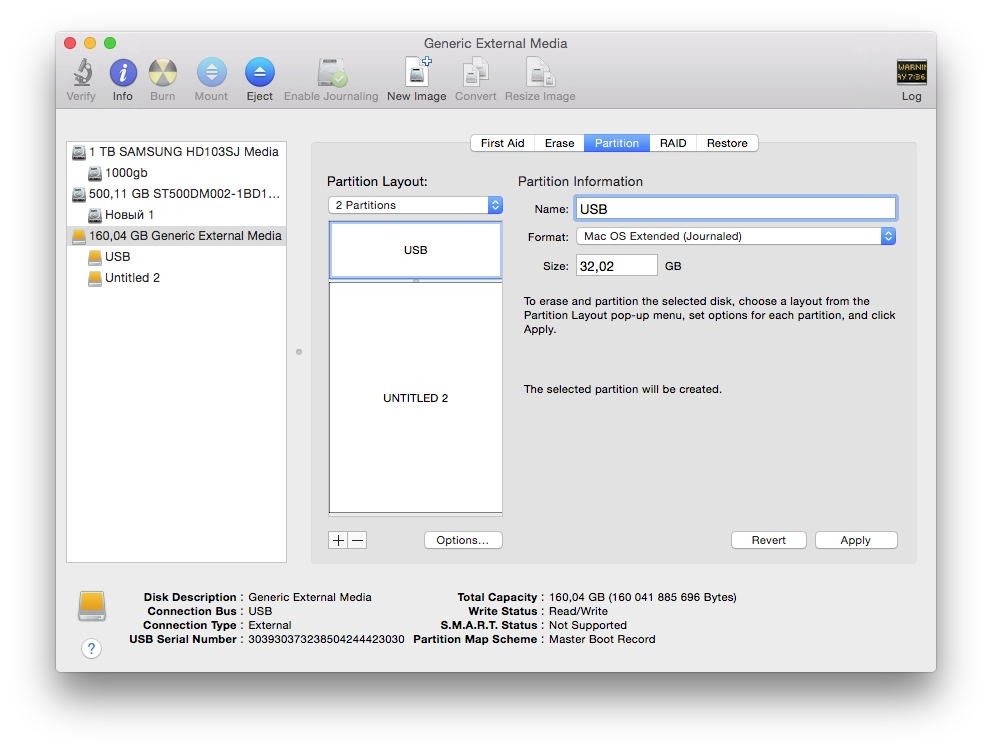
After that, click Options and choose Master Boot Record. Click OK, then Apply, and wait until Disk Utility prepares the flash drive / hard drive.
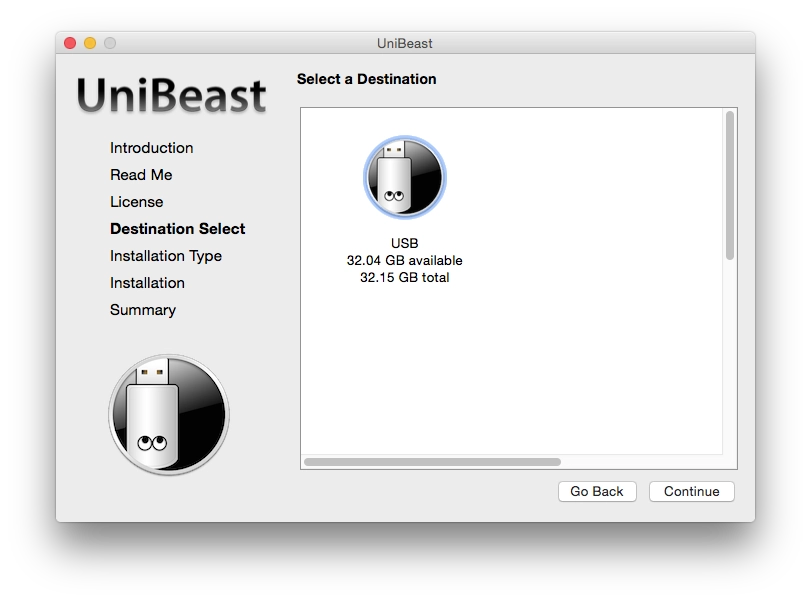
Then launch Unibeast and follow the installation steps. Select the flash drive or the partition on the external hard drive:
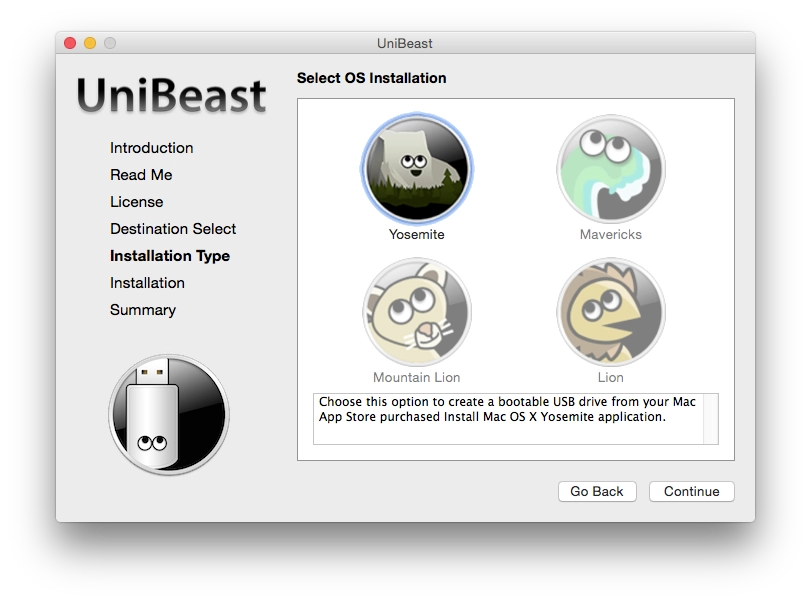
On the next step, choose Yosemite:
On the next step, if you have a laptop, choose Laptop Support. If not, continue. I do not know about the USB Legacy Support option. Most likely it is for people whose USB ports do not work out of the box. I did not need that option.
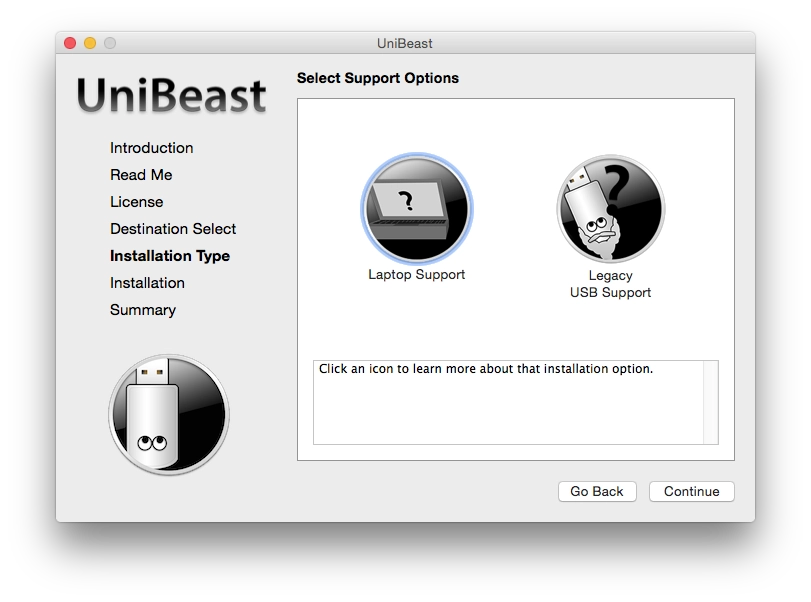
Click Continue, then Continue again, enter your user password, and wait until Unibeast creates the bootable installer flash drive.
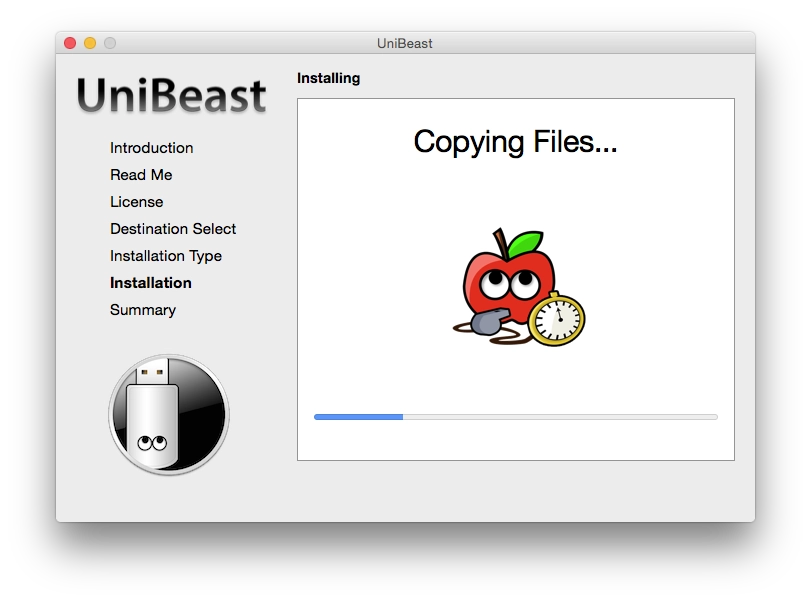
When it is done, reboot the computer, choose the flash drive at startup, and boot from it.
If everything goes well, you will land in the Chimera bootloader. Select the USB drive there. After that you should end up in the OS X Yosemite installer. Most of the time it does not start that easily. So when selecting the USB drive in Chimera, you can also type boot flags (just start typing on the keyboard and the entered text will appear at the bottom). I booted with the flags -v -f -x (without quotes) and got into the installer. Although I think I first saw a black screen, so besides those 3 flags I also had to add GraphicsEnabler=Yes. Then follow the standard installation steps. When you get to the disk selection step, choose the disk that already has OS X Mavericks installed — the installer will automatically upgrade it to Yosemite and keep your settings and files.
When the installer finishes, it will ask you to reboot. Reboot. Again boot from the USB drive. This time choose the disk where Yosemite was installed. I had to boot again with the -v -f -x flags.
Then comes the part where you clean up the problems. If everything goes well, you will boot into OS X safe mode, where you can install all the drivers you need from the Multibeast package downloaded earlier.
I was less lucky.
First I realized that my old OS bootloader would not boot, while the USB bootloader would. Installing the bootloader from Multibeast simply did nothing. That is why I had to download and install Chameleon separately and then Chimera. It took me a long time to figure that out through trial and error. It took so long because every reboot of the computer took about 10 minutes.
Then I noticed an error in the console saying that FakeSMC.kext was already loaded, and the OS did not like trying to load a duplicate. It turned out that back when I was randomly poking at drivers, I had some myHack.kext lying in /System/Library/Extension, and it already contained an old FakeSMC version. It did not fit the new OS and blocked the loading of the new one installed by Multibeast. I had to remove it.
Editing the file /Extra/org.chameleon.Boot.plist did not go smoothly either. Because my bootloader was old, it complained when that line was removed. So if something went wrong, you could no longer boot at all. In the end I had to boot into Single User Mode (add the -s flag at startup) and edit that file again in the console. The working solution was to keep those lines but replace mach_kernel with /Systems/Library/Kernels/kernel. Or maybe that was not even the real reason. With the confusion caused by the bootloader, I never fully figured it out. In any case, if you have the latest bootloader installed, either remove those 2 lines or write /Systems/Library/Kernels/kernel instead of mach_kernel. In my currently working system those lines are gone :)
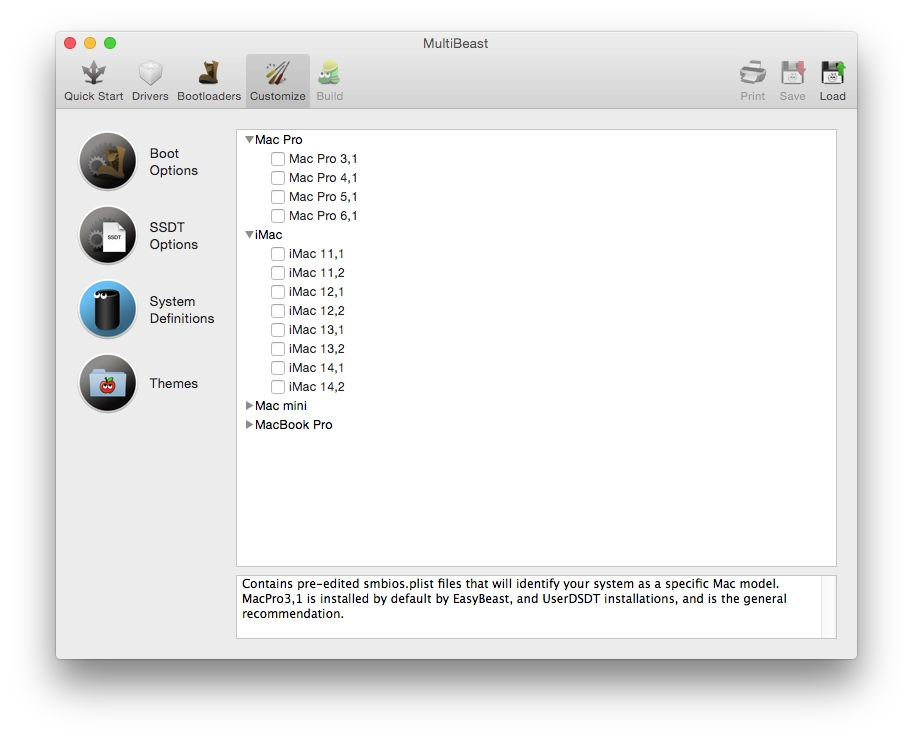
When installing packages from Multibeast, there is a Customize -> System Definitions section where you can make the OS think your PC is a Mac Pro, Mac Mini, iMac, or Macbook Pro. In my case the system booted normally when I defined the machine as iMac 14,2. But after that I decided to update the native NVIDIA drivers for macOS, and the installer said that this computer was incompatible. I started trying Mac Pro variants starting from the latest one (6,1), after which the system would not even boot in normal mode anymore (I had to boot again with -v -x -f). In the end the working option turned out to be Mac Pro 3,1. With it, the system booted normally and the installer for the new NVIDIA drivers agreed to install.
And the last pitfall was the one I described earlier in my cheat sheet: a Kernel Panic with the error Kernel extensions in backtrace org.apple.driver.applertc(1.5). In the new macOS version, the number in parentheses is no longer 1.5 but 2.0. To solve it, you need to install the package “10.8.1 Rollback” from Multibeast, in Drivers -> System -> AppleACPIPlatform Rollback. The catch is that it exists only in the Multibeast 6 branch. Luckily I still had the old 6.4.2 version and installed it from there. In Multibeast 7 it is gone. There is a package called “10.9.5 AppleACPIPlatform Rollback”, but it did not solve my problem. I had to install the old package.
So, after about 6 hours of poking at it, I finally got everything configured and decided to write this post. I hope it saves someone some time so they do not have to poke around blindly like I did. At the very least it may help me too if I have to do this again later. By the way, many common problems and their solutions are listed here. That link is where I found the short upgrade guide and some of the fixes. It is in English, though.
Good luck, damn Hackintosh :)
Once browsers realize that a site can be opened over https, they no longer want to open it over plain http. Firefox and Chrome definitely behave like that. VKontakte is an example. And once a site is opened over https, some resources on the page may still be loaded over http, but not Javascript files. Those get blocked and must be loaded over https only.
Today I was making a simple iframe app for VK. Basically it was just a lightly styled php page into which I inserted the php code of a ticket booking and purchase system. After setting the URL in the VK app, I discovered that VK works over HTTPS and my page was also trying to load over HTTPS. Since my server did not support https, I had to configure it.
I got the certificate from StartSSL for free. I configured everything, everything started working (my blog could now also be opened as https://arm1.ru — I turned that off and left only http for now, because all Disqus comments and social-media likes broke :) and I do not really need https on that domain anyway), hallelujah, the script started loading. But the PHP code of the ticket system essentially returns its own HTML, and that HTML loads various js code over http. Since that gets blocked, nothing works again :) It is a hellish chain, really. VK -> iframe -> my server -> ticket server. Now I am waiting for them to set up https on their side and serve all js code over it.
But I did get a couple of useful lessons out of it.
Now the main thing is not to forget that in a year the SSL certificate will need to be renewed.
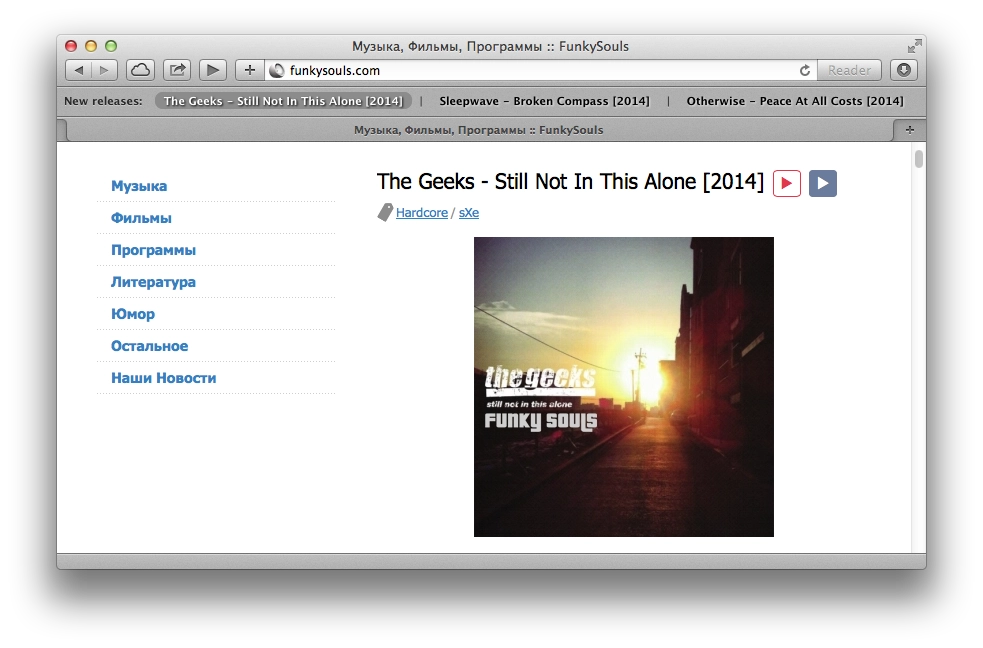
I stop by Funkysouls from time to time looking for new music. I scroll through the first few pages, check the tags to see whether it might be interesting, then copy the artist name, go to VK or Yandex.Music, paste it there, and listen to a couple of tracks. If I like it, only then do I try to get the album.
I got tired of all that copy-pasting and wrote a Safari extension (I had been wanting to learn how for a while).
The extension does only 2 things:
If you want, you can take the extension code from end.js and button.css, paste it into something like the Control Freak extension in Chrome, and get the same 2 Play buttons in Chrome. I assume you could do the same in Firefox through Greasemonkey.
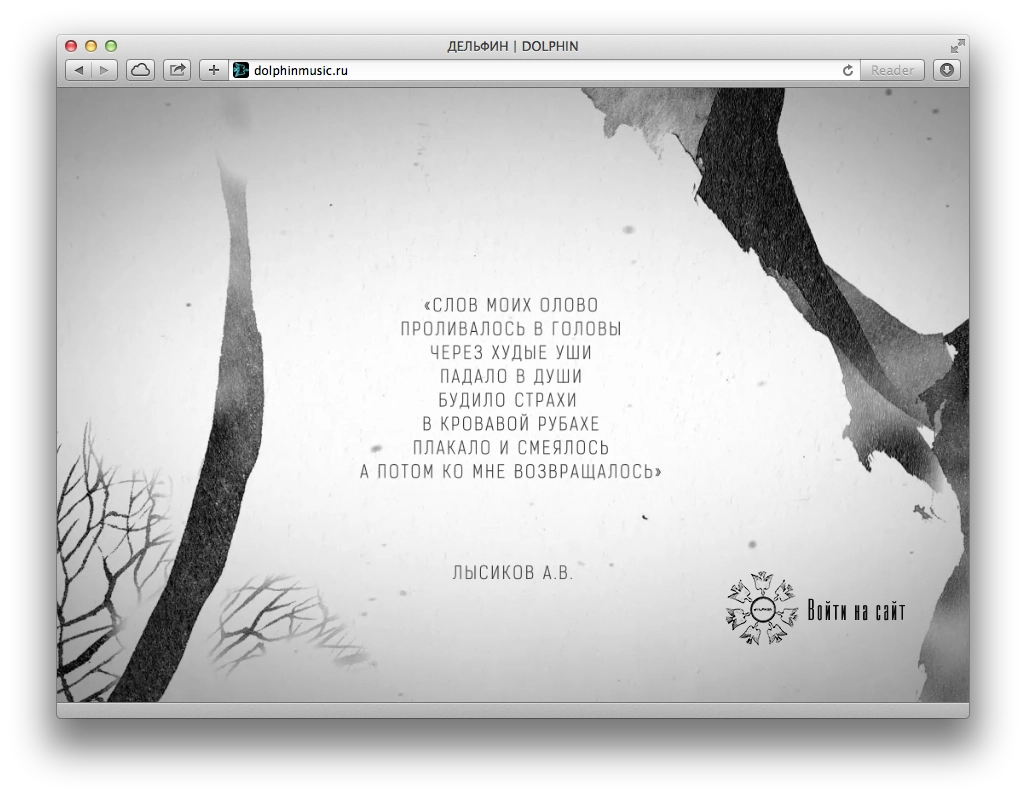
I recently made a promo page for Dolphin’s site for a book of poems that is coming out soon. During the discussion I suggested making it in the form of video, so the animations would look nice. Along the way a few nuances surfaced.
March 2024: all current browsers already support both WebM and H.264.
Back in the day, browsers split into 2 camps: those that supported H.264 and those that preferred open formats such as OGG/Theora and WebM. So you needed at least 2 versions of the video.
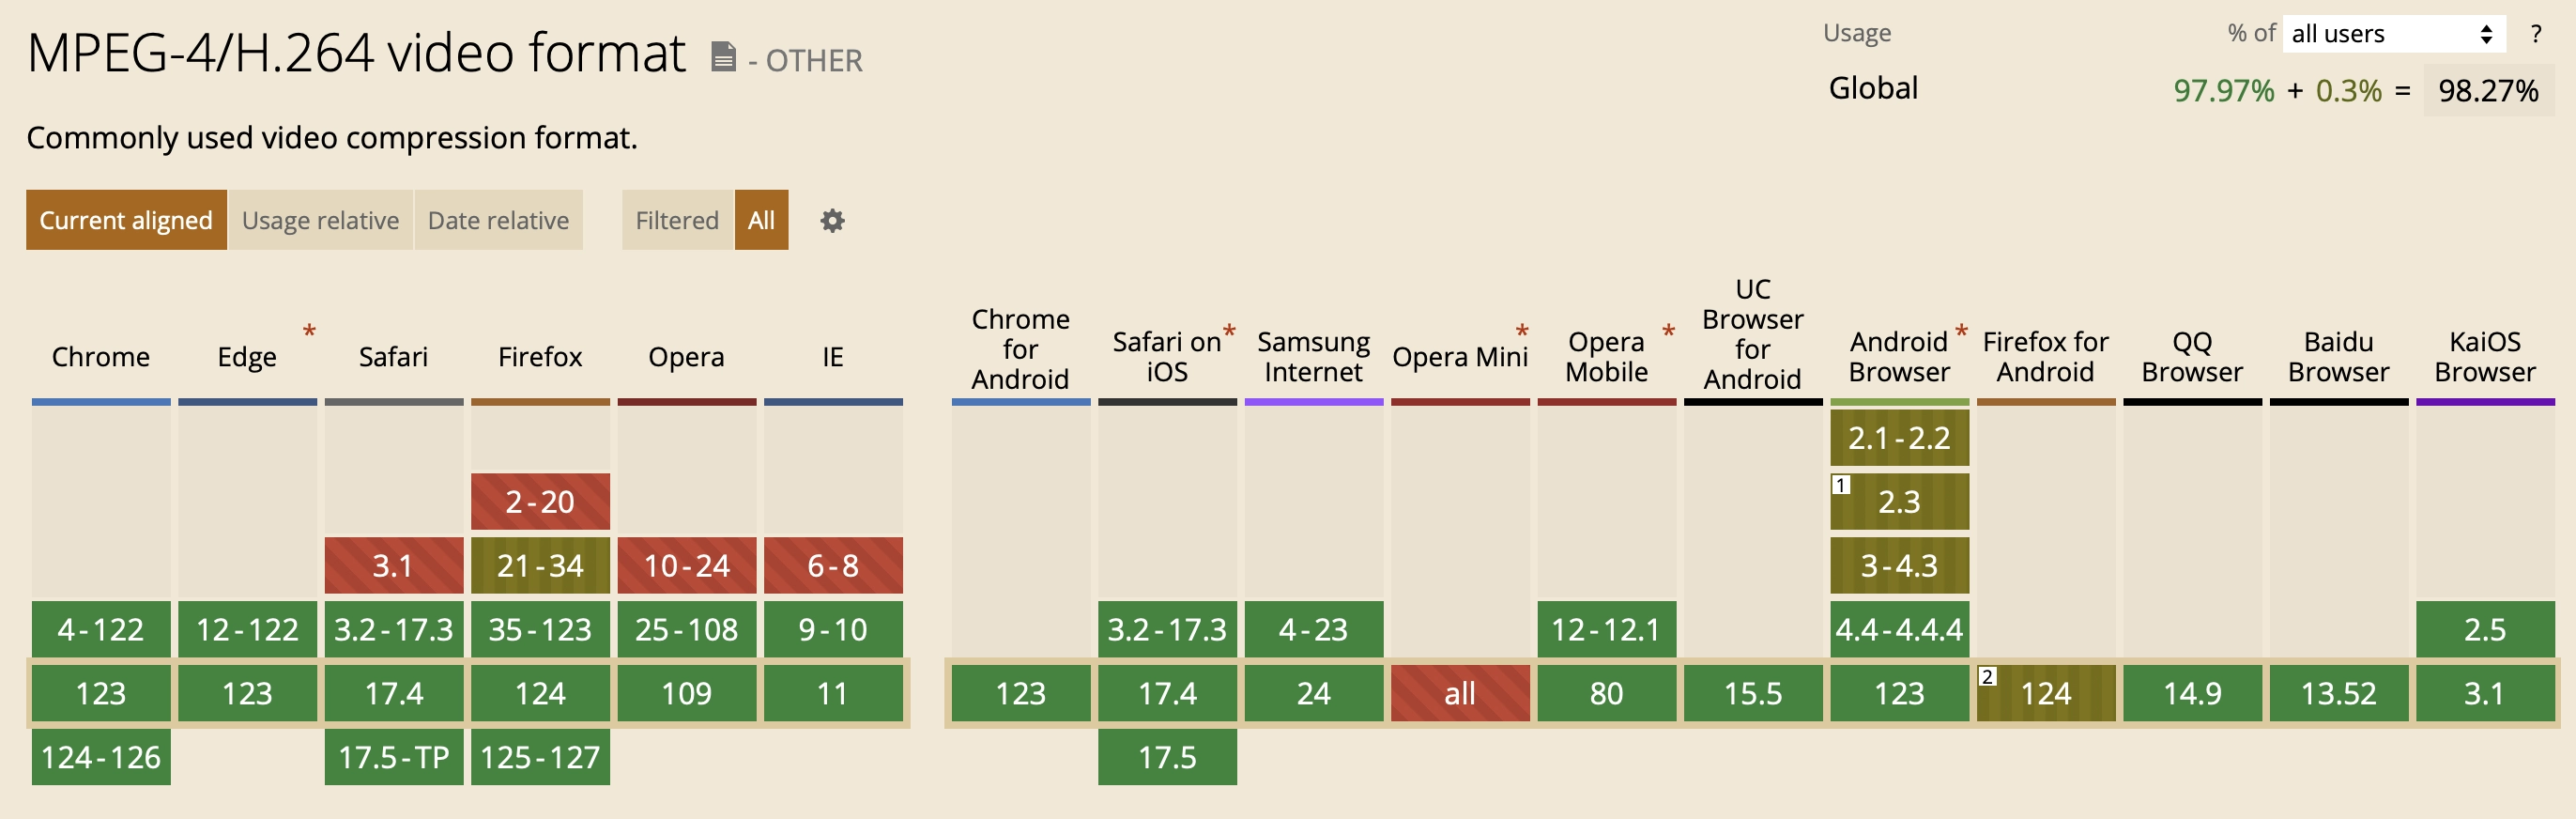
H.264 is supported as of April 2024:
WebM is supported as of April 2024:
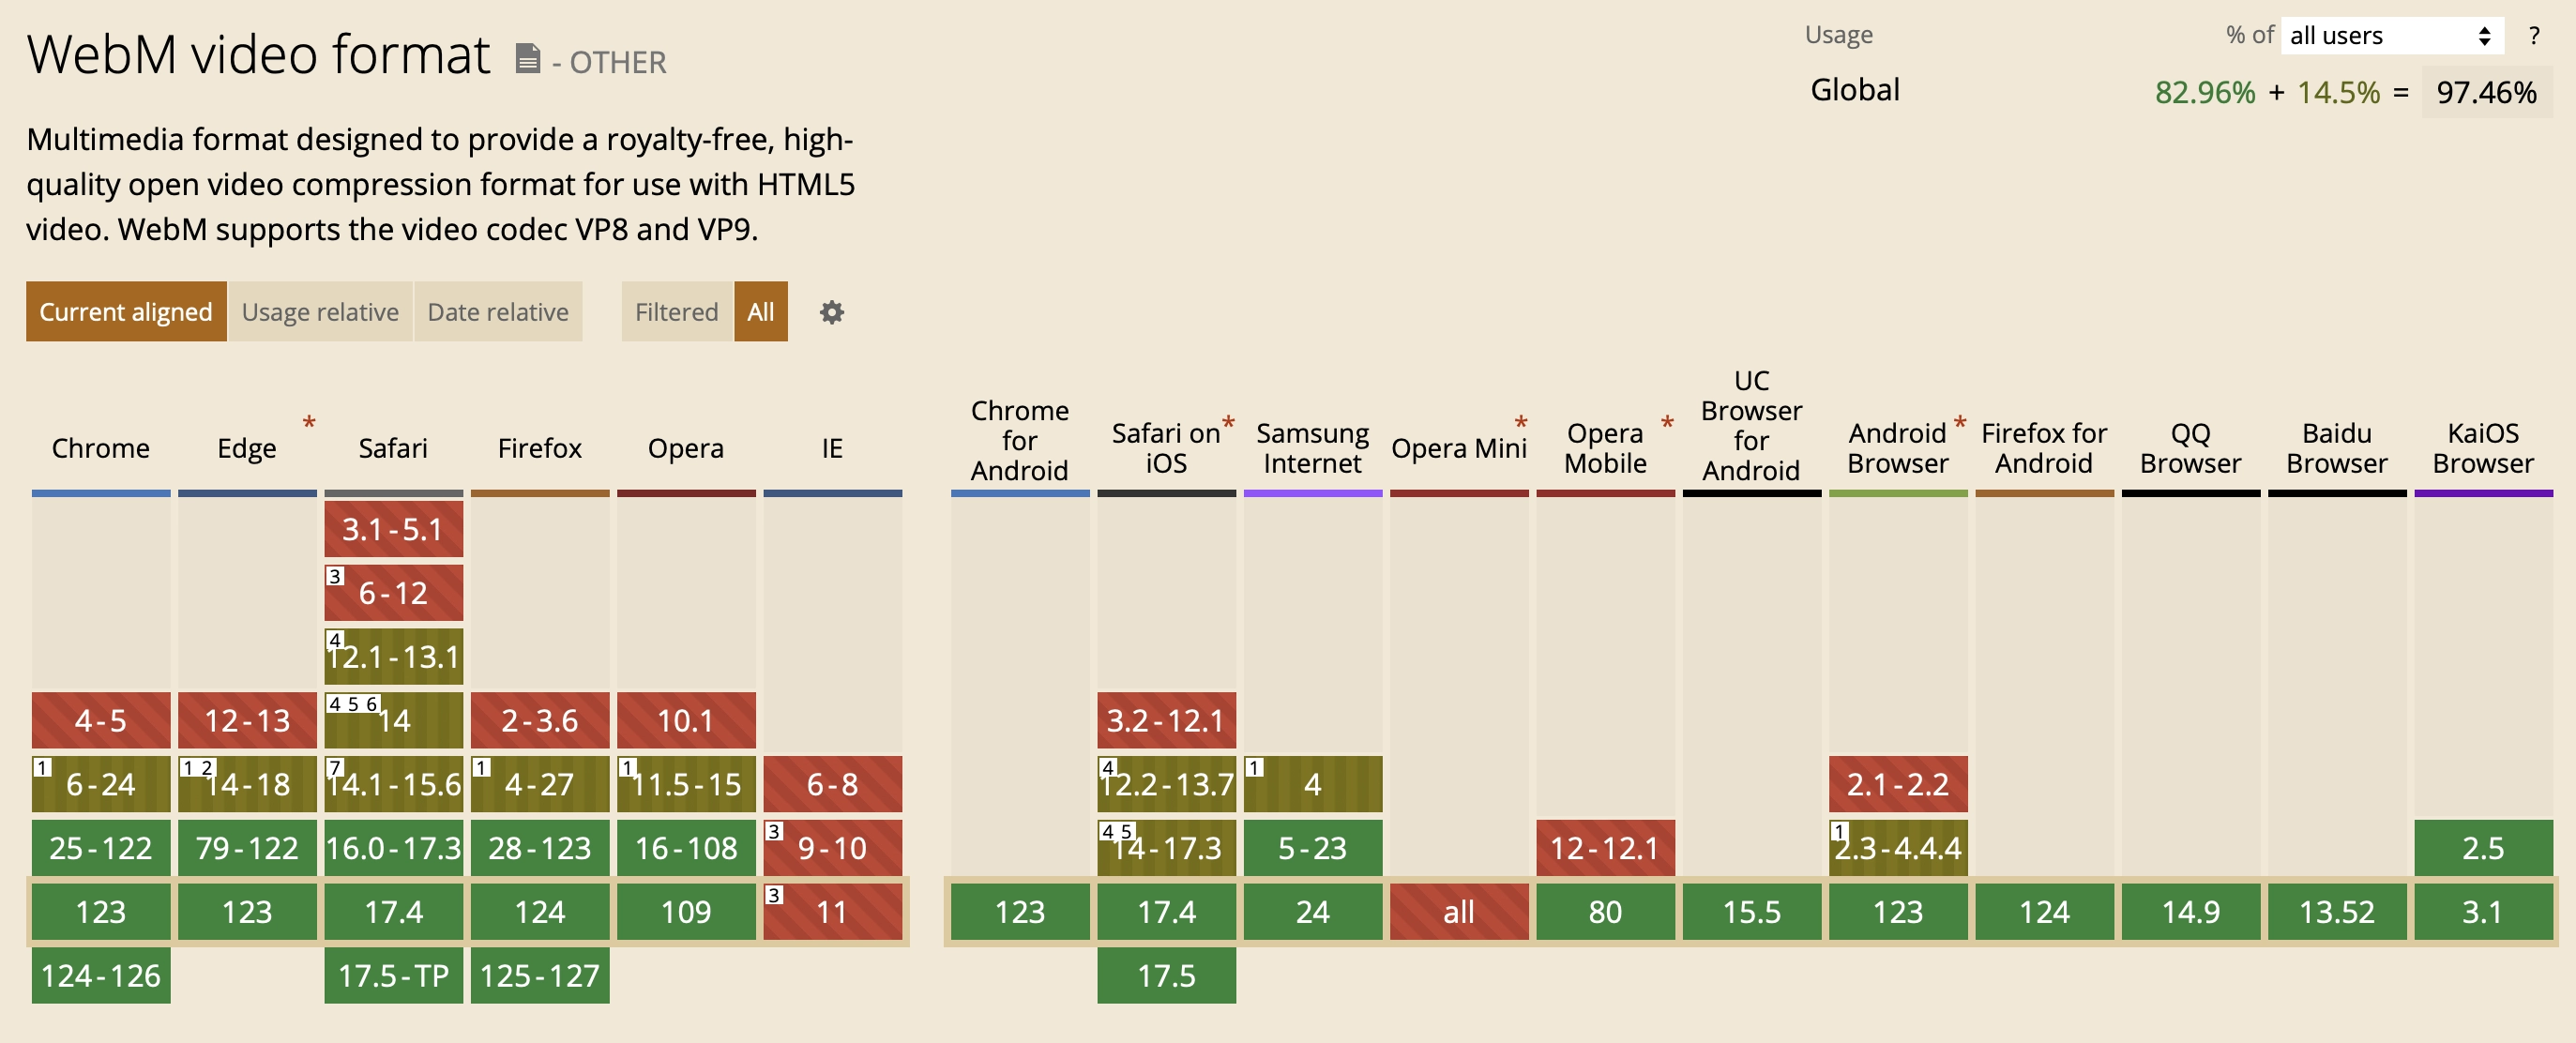
As we can see, all desktop browsers (except the dead IE) and current mobile browsers support both formats. Pick whichever you want. But if you want to support older versions (and Firefox for Android), which support only one format, you can include both H.264 and WebM.
Video code:
<div id="trailer" class="is_overlay">
    <video id="video" width="100%" height="auto" autoplay loop muted playsinline preload>
        <source src="book.mp4"></source>
        <source src="book.webm" type="video/webm"></source>
    </video>
</div>
And CSS:
.is_overlay{
    display: block;
    width: 100%;
    height: 100%;
}

#trailer {
    position: fixed;
    top: 0; right: 0; bottom: 0; left: 0;
    overflow: hidden;
}

#trailer > video {
    position: absolute;
    top: 0; left: 0;
    width: 100%; height: 100%;
}
That code really says it all: stretch the #trailer div to the full screen, place our video inside it, and because it has the autoplay attribute it starts as soon as the browser decides it can start playing, since preload="auto" is set.
We get a picture like this:
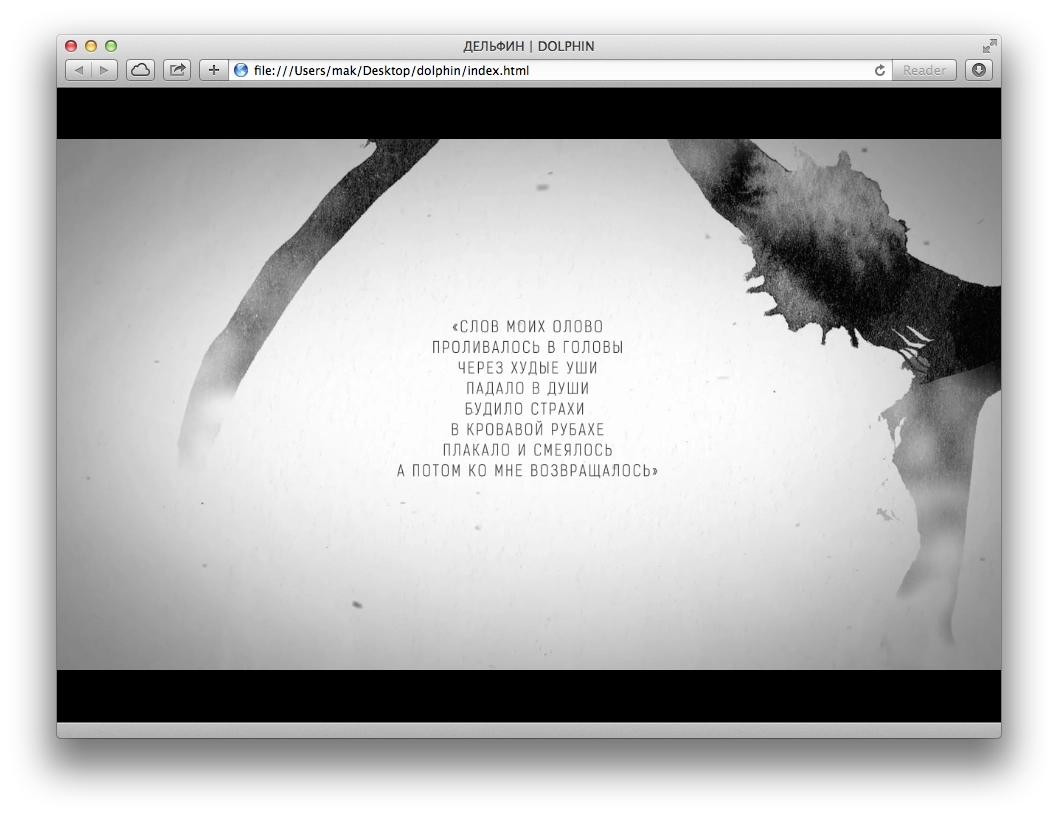
We can see black bars on the sides. You can also change the CSS for #trailer > video so they disappear:
min-width: 100%;
min-height: 100%;
width: auto; height: auto;
Then we get a video stretched to the full width:
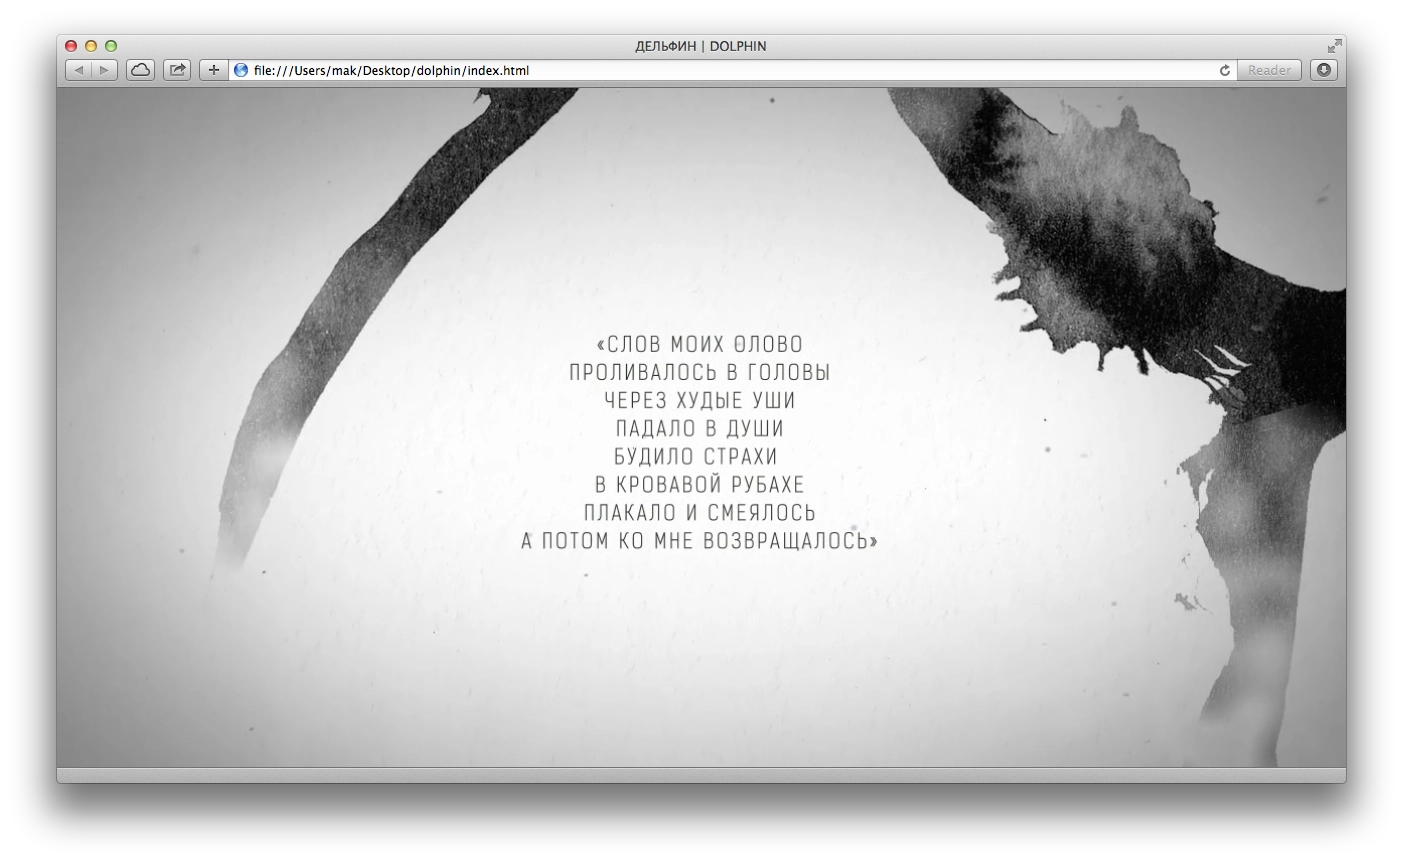
Everything looks good... until we resize the window. Suddenly:

This is where CSS Media Queries come in handy for controlling proportions. Remove the CSS added in the previous step and add this instead:
@media (min-aspect-ratio: 16/9) {
    #trailer > video { height: 300%; top: -100%; }
}

@media (max-aspect-ratio: 16/9) {
    #trailer > video { width: 300%; left: -100%; }
}

/* Если есть поддержка object-fit (Chrome/Chrome для Android, Safari в iOS 8 и Opera), используем его: */
@supports (object-fit: cover) {
    #trailer > video {
        top: 0; left: 0;
        width: 100%; height: 100%;
        object-fit: cover;
    }
}
This lets us center the video for different window / screen sizes.

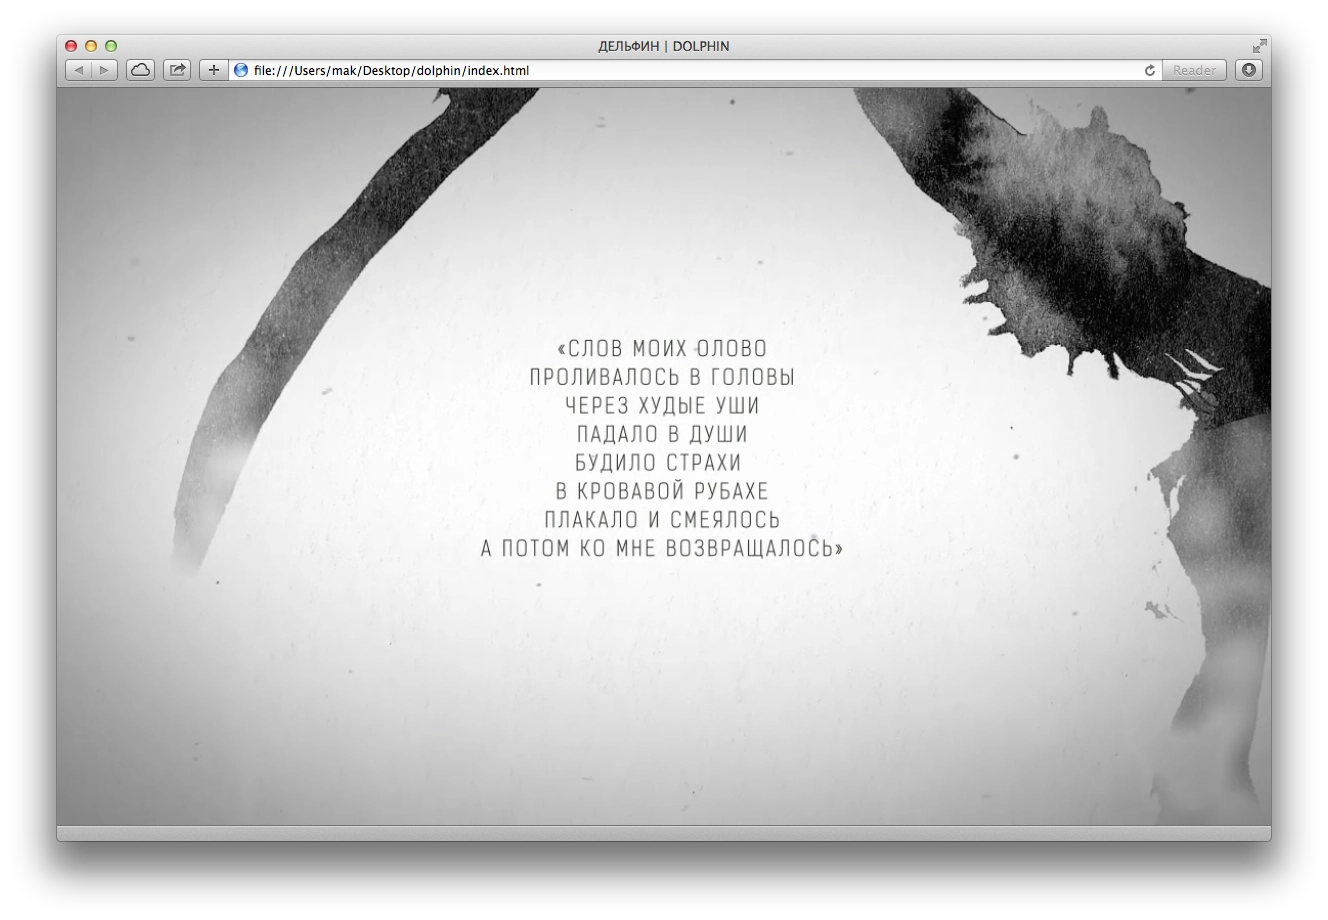
There we go. Looks nice. Now everyone will see the main part, the text.
Mobile browsers are where things get tricky.
Internet Explorer on Windows Phone shows everything and plays it without issues; playback starts automatically.
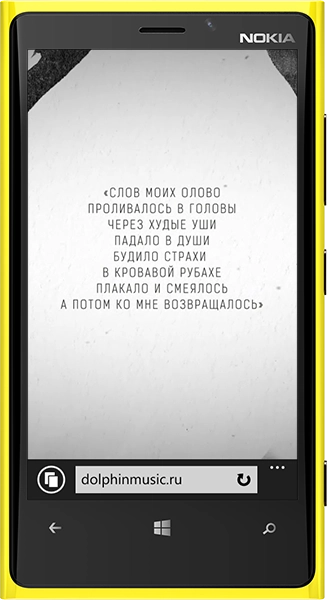
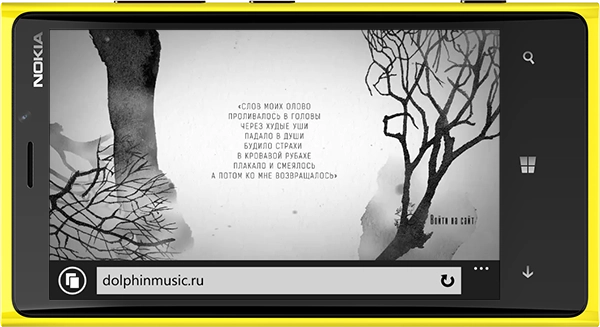
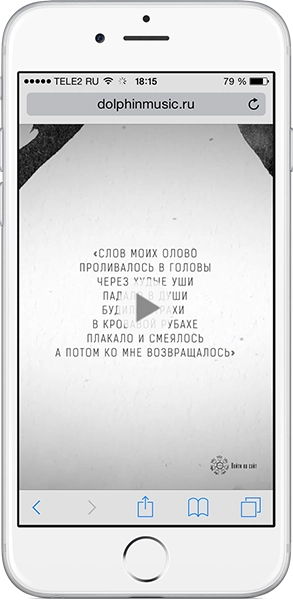
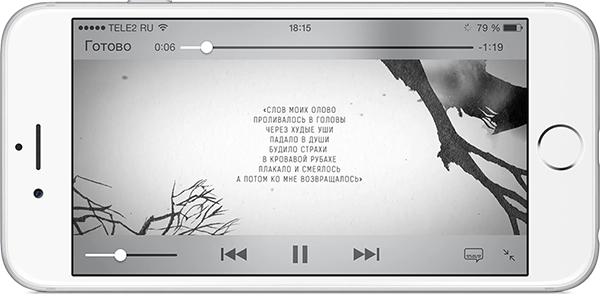
In Safari on iOS, as of March 2024, autoplay works if you specify the playsinline attribute on the video tag, but only if Low Power Mode is not enabled. If it is enabled, the video will not play.
To determine whether power-saving mode is enabled, you can use this JS code and, for example, show an image instead of the video:
// находим видео
const videoElement = document.getElementById("video");

// картинка, которой заменим видео
const poster = document.getElementById("poster");

if (videoElement === null || poster === null) {
    return;
}

const promise = videoElement.play();

if (promise !== undefined) {
    promise
        .catch(error => {
            // Автовоспроизведение не удалось
            if (error.name === "NotAllowedError") {
                // скрываем видео
                videoElement.style.display = 'none';

                // показываем картинку вместо видео
                poster.style.display = "block";
            }
        })
        .then(() => {
            // всё хорошо
            videoElement.play();
        });
}
As of March 2024, autoplay works perfectly in the latest Android versions. But I am leaving the paragraph below just in case.
Android was the hardest. Autoplay does not work. The Play button appears only if you add the controls attribute to the video tag so that the standard playback controls show up. Unfortunately, that is no longer as nice. But that is not all. To make the video start playing, you also need to add a Javascript handler that explicitly tells the video to play:
var video = document.getElementById(element);
video.addEventListener('click',function(){
    video.play();
},false);
To detect Android and add the controls attribute, I simply used Detect.js:
var ua = detect.parse(navigator.userAgent);
if ( ua.os.family === 'Android' ) {
    video.setAttribute( 'controls','controls' );
}
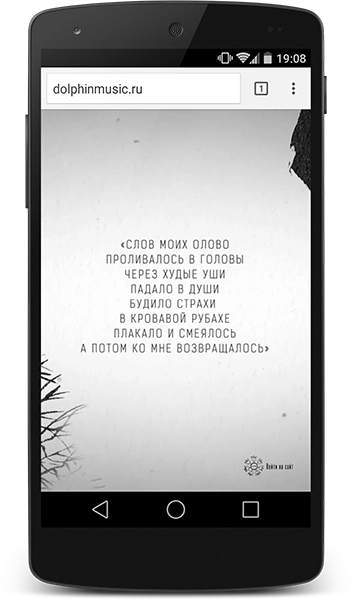
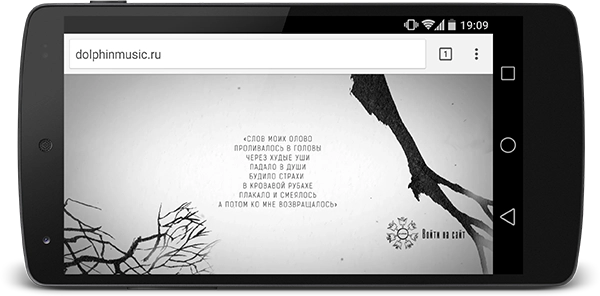
Also, for this to work on Android, you must not use the type attribute inside source.
That is how it is. The final result with the preloader is here.
A post born of pain. It just so happens that right now I am poking at someone else’s project that is designed to run on jailbroken iPhones. And not just run on them — it needs access outside the sandbox.
As everyone knows, all apps in iOS run inside a sandbox and cannot go outside it. All App Store apps are installed into /var/mobile/Applications/ (apps installed onto an iPhone from Xcode go there as well), where a separate folder with an unreadable name is created for each app. You cannot go outside that folder. Not for reading and certainly not for writing.
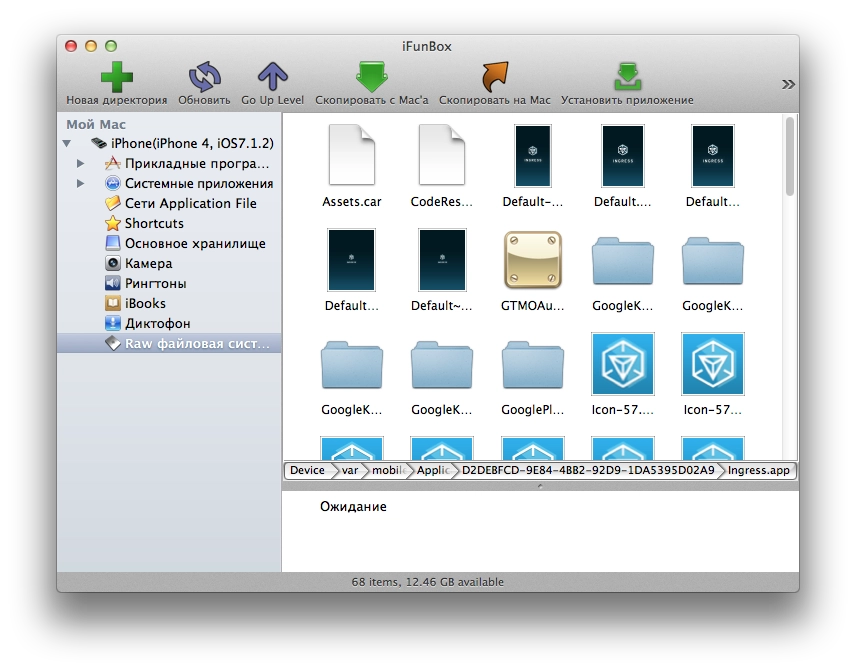
This, for example, is the folder of Google’s Ingress game.
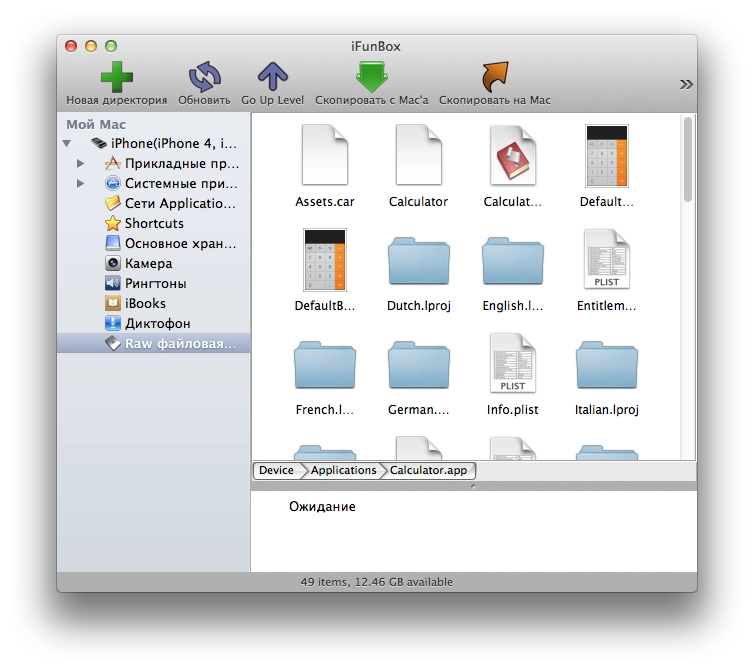
And this is the iOS Calculator app, for example, living in /Applications.
If we want, for example, to read the phone’s SMS messages from inside an app, we need to read the file /var/mobile/Library/SMS/sms.db — it is a regular SQLite database with no encryption or protection. You can download it from a jailbroken phone and open it with any tool that knows how to open SQLite files, look at all SMS messages, and even hammer it with sql queries for search and other tasks.
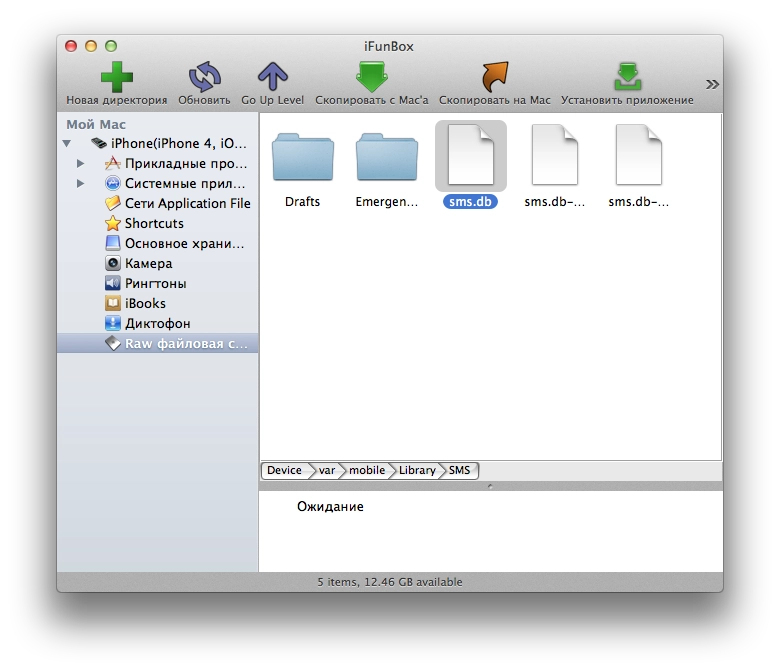
Here, for example, is the file with all iPhone SMS messages.
So, there is no access to that file from the sandbox. And Jailbreak does not solve that. It gives full access to the file system, but only if you are working outside the sandbox.
For an app to work outside the sandbox, it has to be moved from /var/mobile/Applications/ to the /Applications directory. Then the app will live in the system apps folder, have access to the file system on a jailbroken device, not be removable from the phone by holding a finger on its icon, and so on.
And that is where the pain starts: Xcode simply cannot install the app there; it can install only into the sandbox. You can do it by hand — connect to the phone and move it with something like iFunBox — but that is a huge pain every single time. The worst part is that you lose the convenience of debugging. You cannot run the app on the device from Xcode and calmly watch the console to see what your app is printing and whether it is working.
No tweaks from Cydia that supposedly give apps file-system access even from inside the sandbox had any effect. At least not for me on iOS 7.1.2. They say that even if you run the app as root but still inside the sandbox, it still will not get permission to read system directories. Although it feels like this used to work before, but jailbreaks were different back then too.
That is the hell I am in. In the near future I am going to try some scripts I found online to automate moving the app around inside the iPhone after the build via SSH while also capturing syslog. I also want to write up what I have dug out inside the iPhone in terms of “where everything is stored”, but later, once this hell is over :)